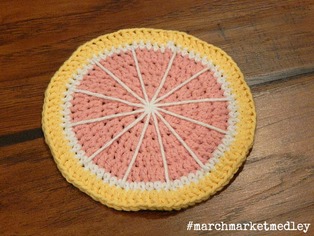
 Nothing tastes more like sunshine to me than citrus. It's a treat to dig into a juicy grapefruit in the depths of winter. Sweet, tart, bitter. The memories it invokes. My Grandparents would winter in Texas and would always have a crate of grapefruit for my parents. I remember this very little, but when I eat a grapefruit I always think of my Grandparents.
Today's creation is a large coaster, but would really do better as a hot pad. Either way I like the colors and the white cotton that divides the sections of fruit. You can find similar patterns on Ravelry or Pinterest by simply searching for citrus coaster.
0 Comments
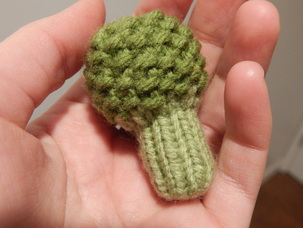 Did you like broccoli as a kid? I didn't unless it was in a cheese soup. It wasn't until after high school that I really loved to eat this nutrient dense vegetable. We also grow it every year in our garden. We've had most success with a variety called De Cicco. It's a nice flavored, early variety that continues to put on side shoots after the main head is cut. Superb! As for my creation I decided to knit a broccoli florette. I could have easily crocheted one, but so far in this challenge I haven't done ANY knitting. The pattern uses only two stitches - stockinette and seed stitch. You can use your finished broccoli however you like, but I gave it to my cats as a toy! They absolutely love it. 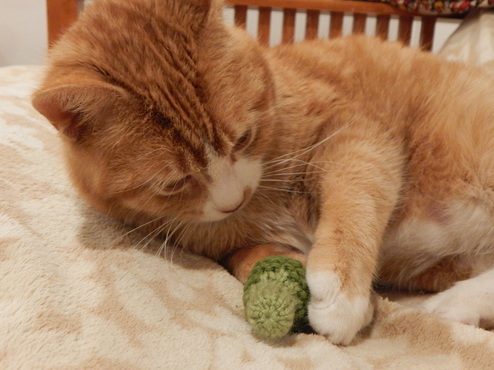 Knit Broccoli Pattern Materials Stitches
Worsted weight yarn Cast On light green and dark green Knit (K) Size 5 DPN Purl (P) Scissors Knit two together (K2tog) Tapestry Needle Purl two together (P2tog) Poly-fiber Fill Pattern Cast on 9 stitches onto your DPN 1.-13. Knit around (9) 14. Increase in each stitch around (18) 15. *K1 with light green, K1 with dark green* repeat around -- Break light green and continue with dark green only -- 16. *K1, P1* around 17. *P1, K1* around 18.-25. Repeat rows 16 and 17 26. *K2tog, P2tog* repeat 4 more times (9) 27. P2tog, K2tog, P2tog, K2tog, P1 (5) F/O and cinch in the top opening. Stuff broccoli with fiber fill using the stick that usually comes with the bag. This can take a little patience. Cinch in bottom part of broccoli and you're done!  Sunday's them was Grapes, as you see in the title. For this challenge I wanted to do something a little more delicate and 'old school.' I chose to crochet a doily. Now, crocheting doilies isn't necessarily out of fashion (though maybe it is), but I envision it as something my Grandmother or Great Aunts would do. Don't get me wrong, there are lots of cool patterns out there. Old and New. I just think it's an antique technique that not a lot of modern crocheters continue to do. The pattern I found is called 'Grape Harvest Doily' by Jo Ann Maxwell. The pattern link is through Ravelry, however, that link will take you to another site that you do need to sign up for. The sign up is pretty simple, though, so don't fret! After that the pattern is free and easily printable to take with you. I chose to crochet this project in a lovely green and lavender. I know grapes don't come in this color in real life, but a pastel purple is just irresistible to me. My doily measures roughly 6 inches across. I think it's the perfect doily to set a candle on or an evening glass of wine - I mean, it's grape related! 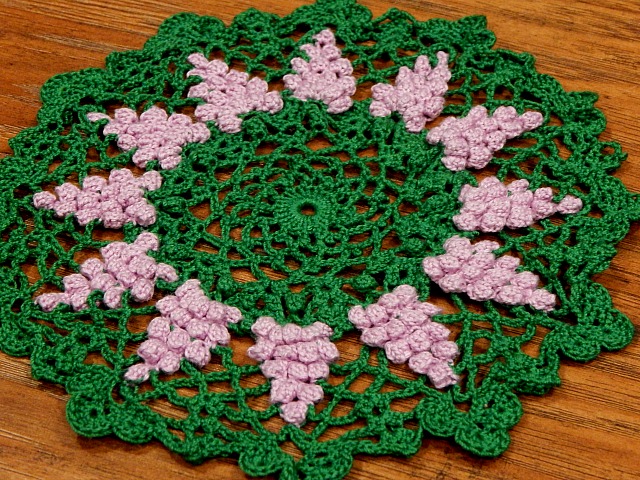  What a day it has been here. I've spent most of it planting seeds in hopes of a beautiful and well stocked garden this year. Though it's fun to play in the dirt, I sure do enjoy creating things for this challenge! Today's produce of choice is the KIWI. Now, in this challenge there are quite a bit of fruit that I wouldn't normally be growing in the climate zone that I live in - Zone 5b (if you're curious). However, did you know that there is a hardy variety of kiwi? It can tolerate our colder climates of the north, but are a little different. The fruit themselves are smaller than the typical kiwi you find in the grocery store and they also do not sport a furry coat. Either way, they're just as awesome! I'll let you know on flavor when the ones in my garden fruit. ;) 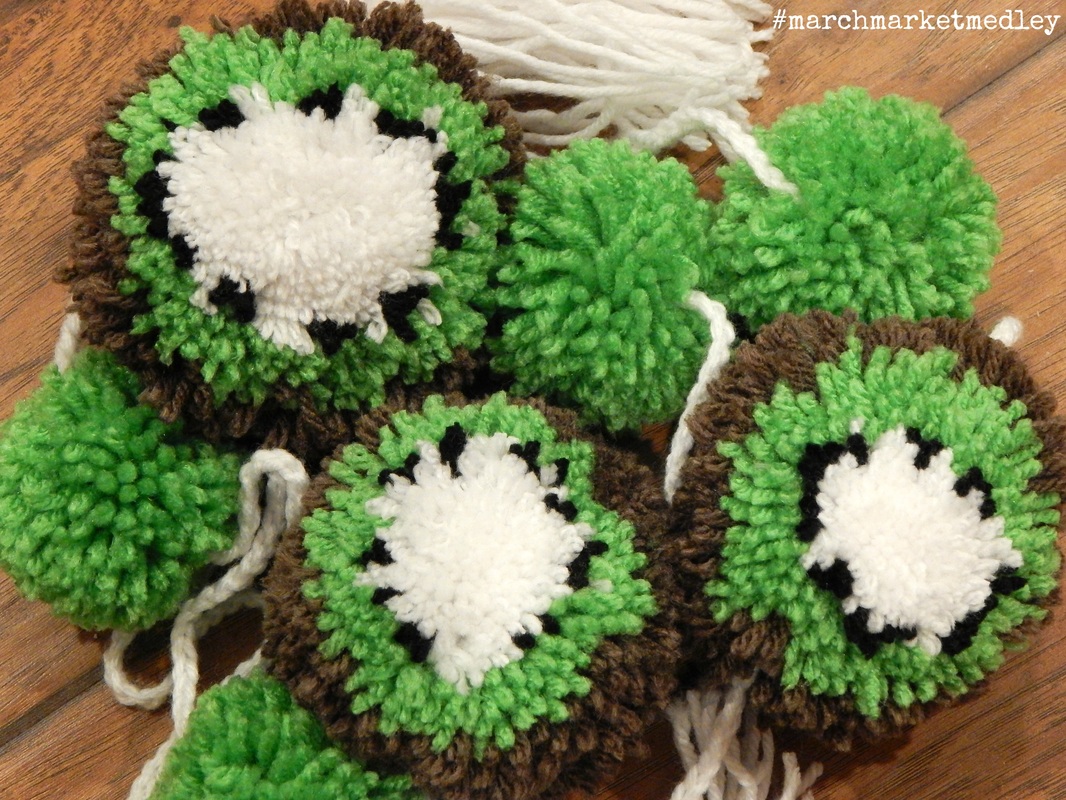 For my kiwi creation I decided to forego a knit or crochet item and jump right into something I've been wanting to do for AGES. I found these Pom Pom Fruit while perusing Pinterest. I didn't have a practical application for them yet, so I hadn't attempted to make any of them (even though I had quite a few concepts float through my noggin). The kiwi pom poms were a perfect fit for today's challenge. I made up one last night just to see how it would go. I really liked the way they looked, but admittedly mine aren't quite as neat as the Mr. Printables blog. Today I decided to whip up a couple more. Originally I thought I would make key chains for a back pack or my car keys, but I didn't have any fasteners that looked very good. So, I went for the next best thing - Garland. I made four smaller pom poms to go in between the kiwis, crocheted a long chain to fit all the pom poms, and ended the piece with a tassel on each end. I hung up my newly made home decor the way you normally would put up a garland. I didn't like it. Maybe if I had had some cute washi tape or something it would have looked better. That or I simply placed it in the wrong place. Either way, I opted to hang the garland vertically instead, right by my computer, where I can admire it! 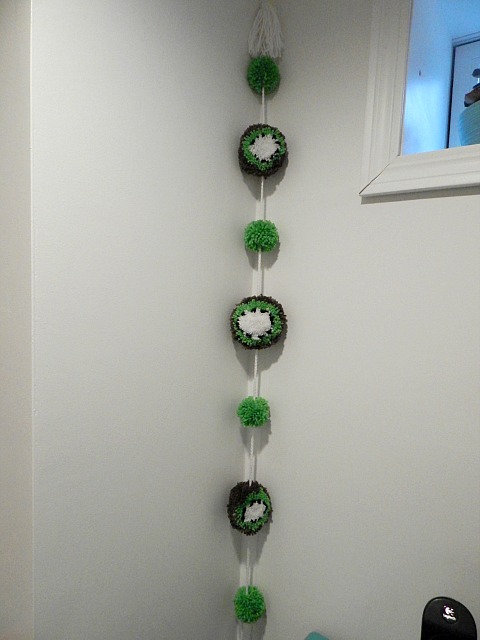 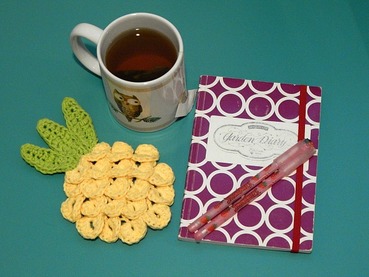 OH Happy Day! Today's creation was a lot of fun. I've been planning it since day one and I am very happy that I didn't have to wait long to do it. Pineapples, to me, seem to be a quintessential fruit of summer. That sweet juicy flavor paired with a bit of acid. YUM! They look so happy, and maybe a little dangerous, too. ;) Either way, this one is a definite reminder that summer is on its way. Once again I created the pattern myself, but I did have some inspiration. I had found the Pineapple Trivet by Debra Arch on Ravelry. It's a really cute pattern, but there isn't an option to purchase only the pineapple pattern. In lieu of a pattern to follow I used some basic reasoning and created this! I thought it turned out really well. It's a wee bit smaller than what the original appears, but that's okay with me. Mine measures roughly 5 inches wide and 7 inches tall. It works great for small pans or even coffee cups. I, on the other hand, just hung it on the wall! ^_^ 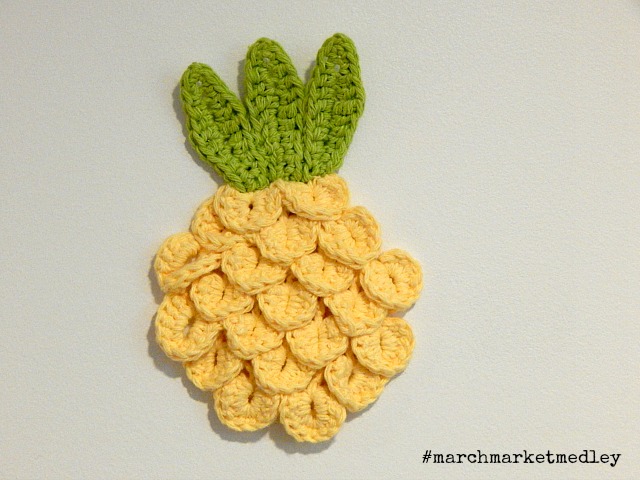 When I saw that today's challenge was celery I must admit that I groaned a little inside. Celery is a complex textured veg that if made in its traditional form would be difficult. I also didn't want to spend ALL day on this little project. As a result, I went with something a little simpler. Snack form if you will! I present you Hummus and Celery sticks. 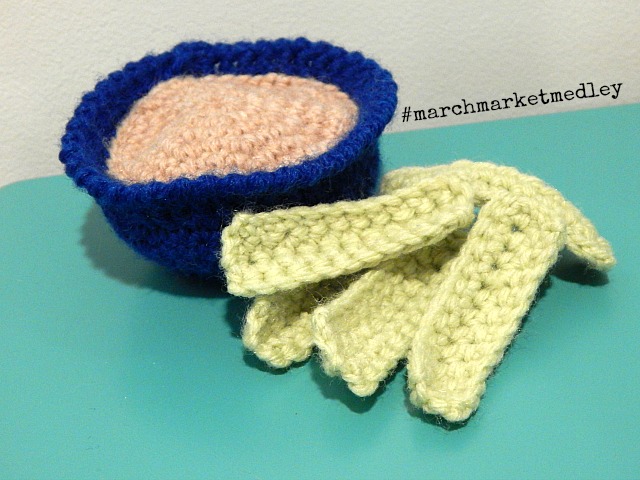  March 2nd's produce for the #marchmarketmedley challenge was the fabulous PEA. Okay, okay. I know today is not the 2nd anymore, but my day got away from me and I ran out of time to write. For my design I chose to go with crocheting again. I just find crochet so much more flexible than knitting when creating 3-D objects. I will be attempting some knit items for the challenge, though. Don't you worry! Anyway... When I garden I REALLY love to add a lot of color. This means growing foods that are not only delicious, but a different color than you would normally see. Last year I picked out the Snap Pea 'Blauwshokkers' or Blue Podded Pea. This variety is an heirloom from Europe that is ornamental with a bluish purple pod and lovely violet and mauve flowers. It was only natural for me to model my crochet pea design after this variety! 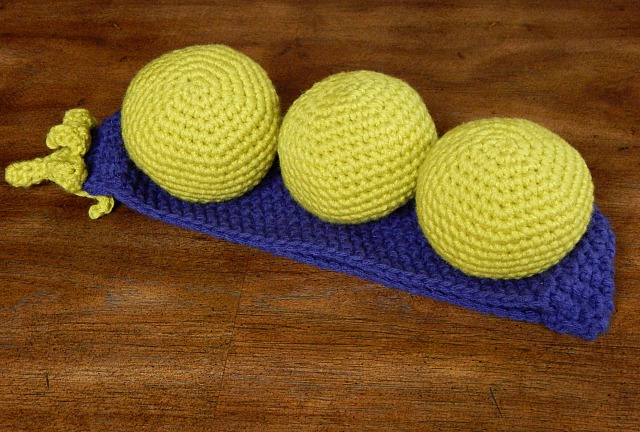 Truth is, I'm really in love with this piece. It is just so COOL. I think it's pretty functional as well. Personally, I like to just set it on my chair and let it look sweet all by itself or with other pillows. Speaking of which, you COULD use it as a pillow as well. Last, but not least, use it as a toy for your child or pet. Who wouldn't want to play catch with those cute squidgy peas? Clean up is a breeze, too. Just stuff the peas back in their pod and store away for next play time. 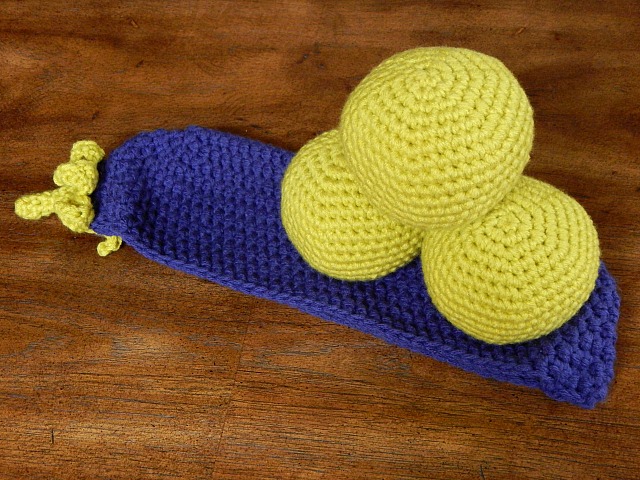 This brings me to where you'll be able to get the pattern. You'll be able to find the pattern for sale in my Ravelry and Etsy Shops. If you'd like to order a physical item, direct message me on any of my social media venues!
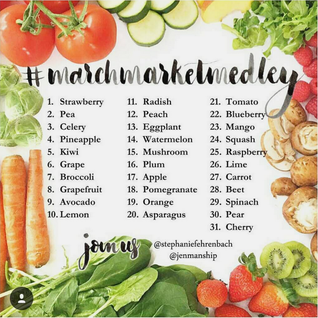
Hope you Enjoy! Happy March everyone! I cannot believe that we're already in the 3rd month of 2016. This month I am participating in a project/challenge called March Market Medley! The hastag under the same name, #marchmarketmedley was co-created by @stephaniefehrenbach and @jenmanship on instagram. They both do beautiful watercolor work and I definitely recommend checking them out.
Strawberry Pattern 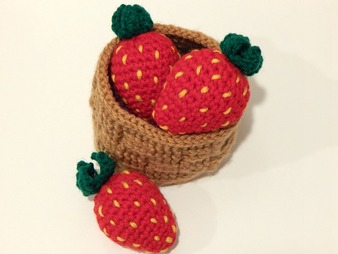 Materials Stitches Yarn - worsted weight Chain (ch) Red Single Crochet (sc) Green Half Double Crochet (hdc) Yellow Double Crochet (dc) F Hook Slip Stitch Scissors Tapestry Needle Poly-fiber Fill Strawberry Body - with F hook and Red yarn Make magic ring 1. Sc 5 into magic ring. 2. 2 sc into each stitch around (10) 3. Sc around (10) 4. *Sc 1, 2 sc in next stitch* repeat around (15) 5. Sc around (15) 6. *Sc 2, 2 sc in next stitch* repeat around (20) 7. Sc around (20) 8. *Sc 3, 2 sc in next stitch* repeat around (25) 9.-11. Sc around (25) 12.* Sc 3, decrease* repeat around (20) Begin stuffing 13. *Sc 2, decrease* repeat around (15) 14. *Sc 1, decrease* repeat around (10) 15. Decrease around (5) F/O Leaves -with F hook and Green yarn Make magic ring (be sure to leave a long tail for stitching on the leaves) 1. Sc 5 into magic ring 2. 2 Sc into each stitch around (10) 3. Slip stitch into next stitch and then chain 5. Slip stitch into second loop from chain, sc in next, then hdc, and dc into final stitch. Slip stitch into next stitch, repeat 4 more times. F/O Assembly Attach leaves to top of strawberry using the long tail from making the magic loop. Take yellow yarn and stitch on "seeds" as evenly as possible around the strawberry body. Voila, you're done! You now can make a whole basket full of luscious strawberries. |
Author
My name is Annissa, owner of MissNissDesigns. I am a knitter, crocheter, sewer, and all around crafty lady. Archives
April 2023

|