|
This past weekend my hubby and I were invited to a wedding. Our first one out of four that we know of for the year! The gift we came up with was for me to make a crochet name filet with their family name. My Great Aunt Grace did this for a lot of the family, so I thought it would be a cool thing for me to start doing as well. The filet was my first one, so I was pretty darn excited to make it! Part finishing these projects require blocking. If you don't know, blocking is a method using water (vapor or liquid) to set a piece into the shape you want. It also relaxes the stitches which can even out the look of stitches if they're not quite even in tension. My requirement for blocking was to relax the piece (it was a bit wavy) and to set the edge design in place (it was twisting/curling a bit so that all the end loops weren't visible). You can see the finished product before blocking below. (Please pardon the quality of photos, I was in a hurry to get the project finished and didn't have a lot of time to spend on photo taking) 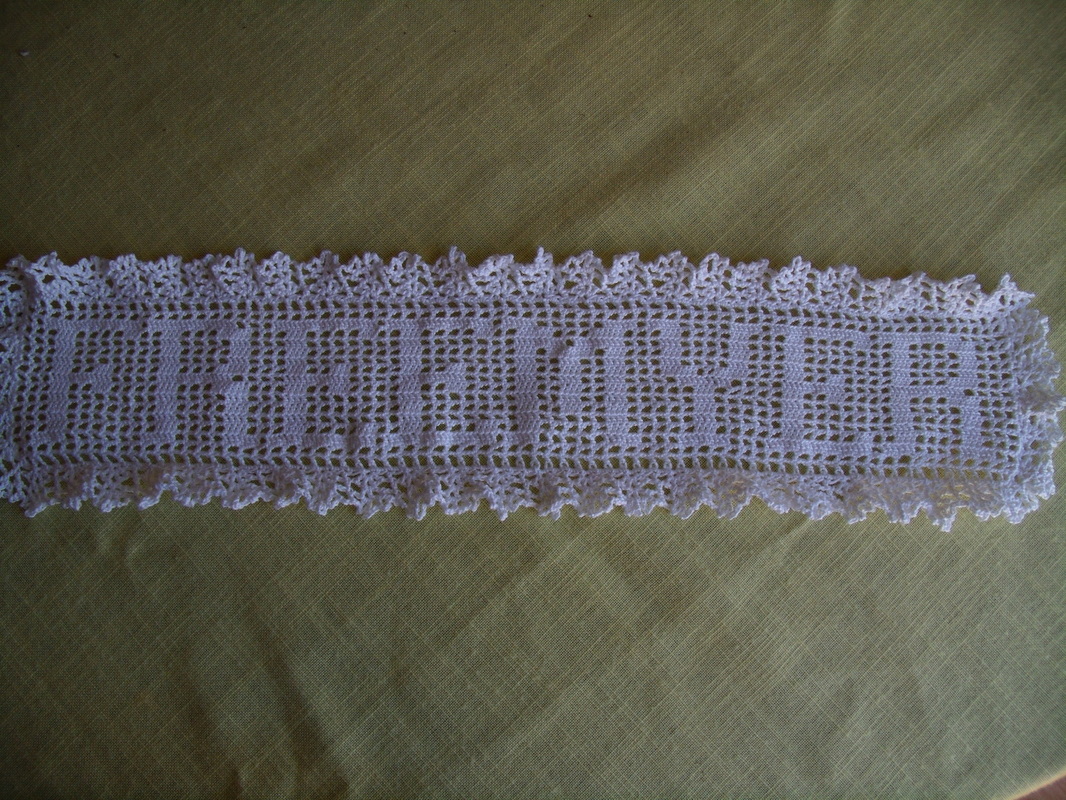
The method of blocking I used was wet blocking. In this method you saturate the piece with water and usually a gentle detergent/soap, wring or pat out excess water, and lay it flat to dry with the piece pinned to the shape you want. Below I have my filet ready to put into the prepared soap water. 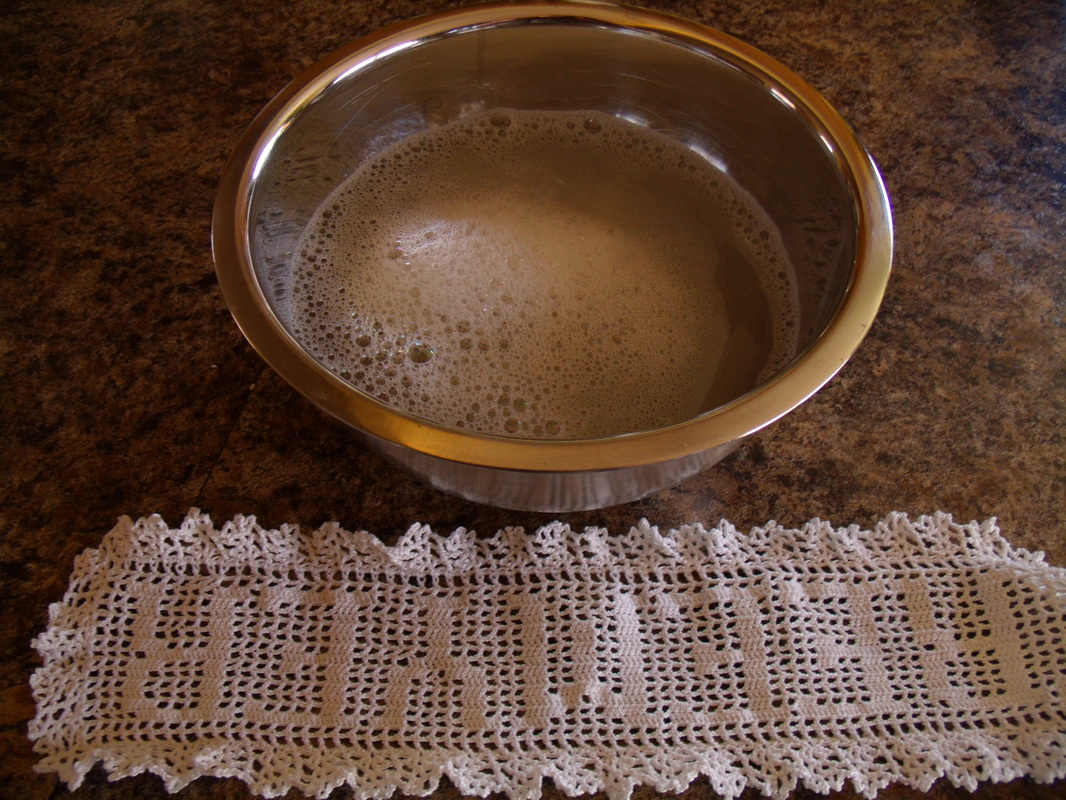
Next, I submerged the filet in the soap water, making sure it got entirely wet. I then let the piece sit in the water for at least an hour. You probably could do less, but I like to say at least an our because then I have time to get the next step prepared and maybe a load of laundry. ;) 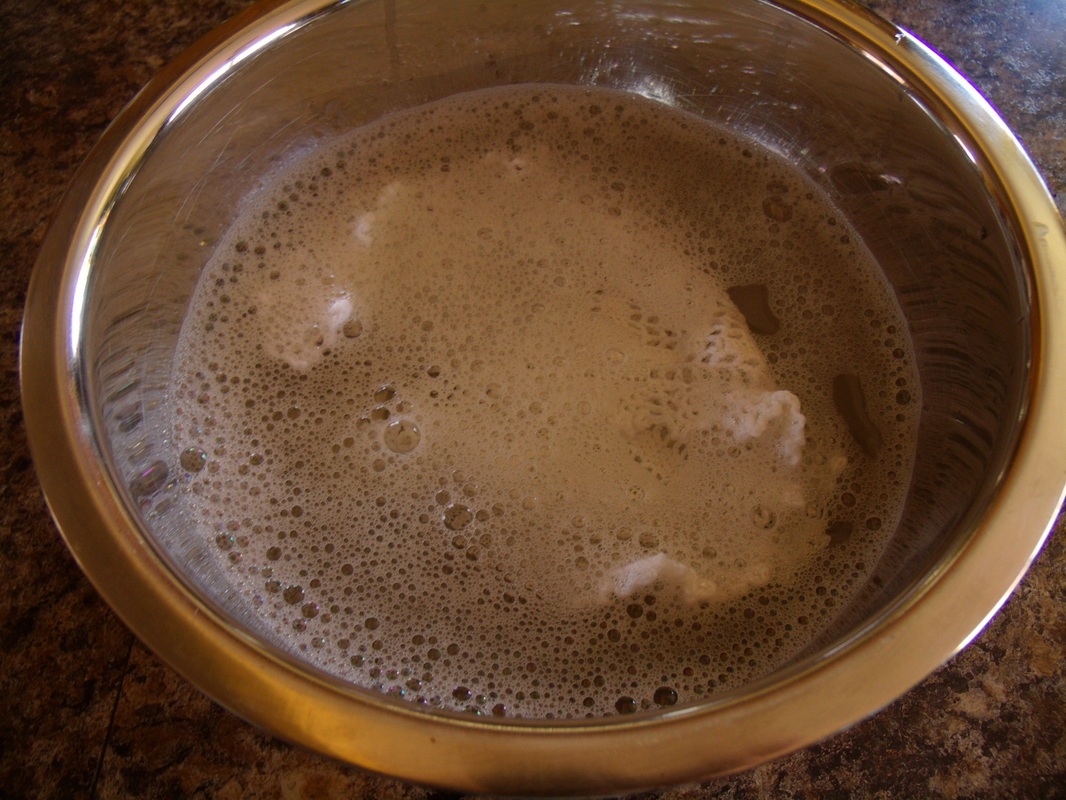
After the hour (or your allotted time) has passed, I wrung out the filet and gently patted out excess water with a dry towel. Sorry, I don't have a picture of that! Then I laid the filet out on something I could stick pins into. I used my cushioned quilt block cut and press pad, but you could also use a towel, piece of foam, or whatever works for you. I stretched the piece the long way and short way to make the piece a little bigger and stretch the stitches apart a bit. Finally, I pinned the outer edge in place to the way I wanted it to look. The main purpose was to get the decorative loops to sit nicely and visibly, but also to make sure the piece stayed in the right shape while drying. 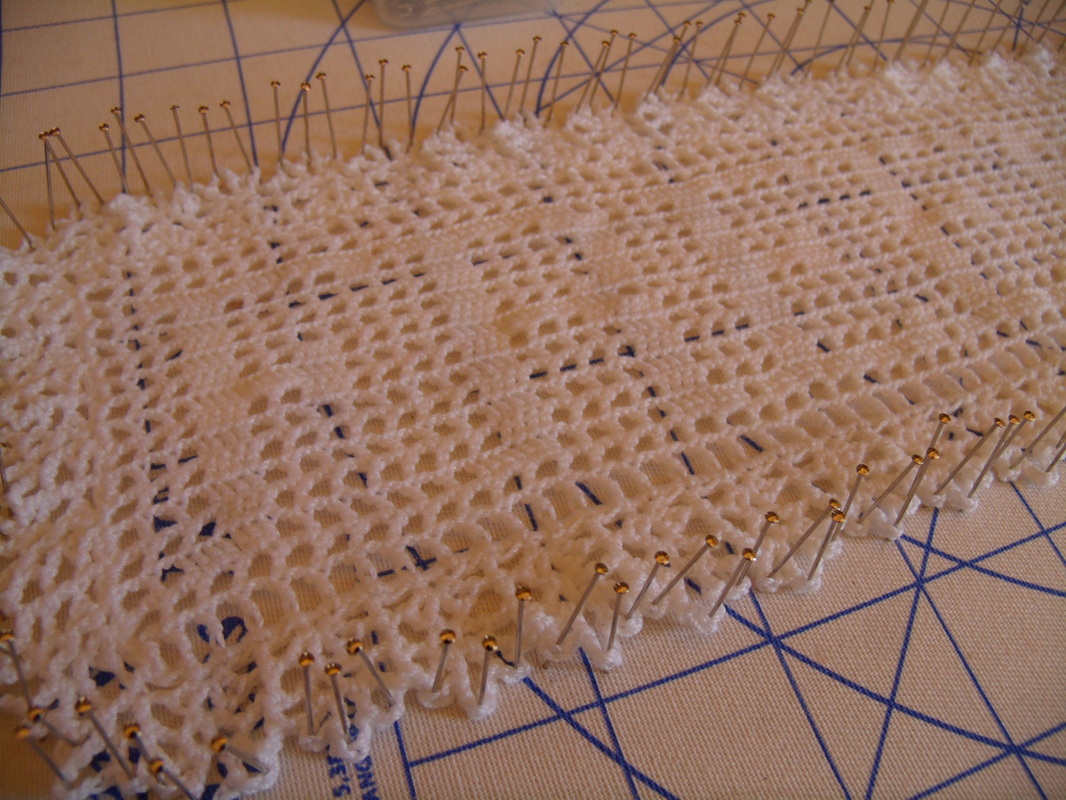
Here's the finished product! It turned out really well for my first name filet. I hope the couple appreciate this gift and mount it in their home. I hope you, too, find this tutorial helpful! It's pretty basic and easy, but if you have any questions or comments, please share! 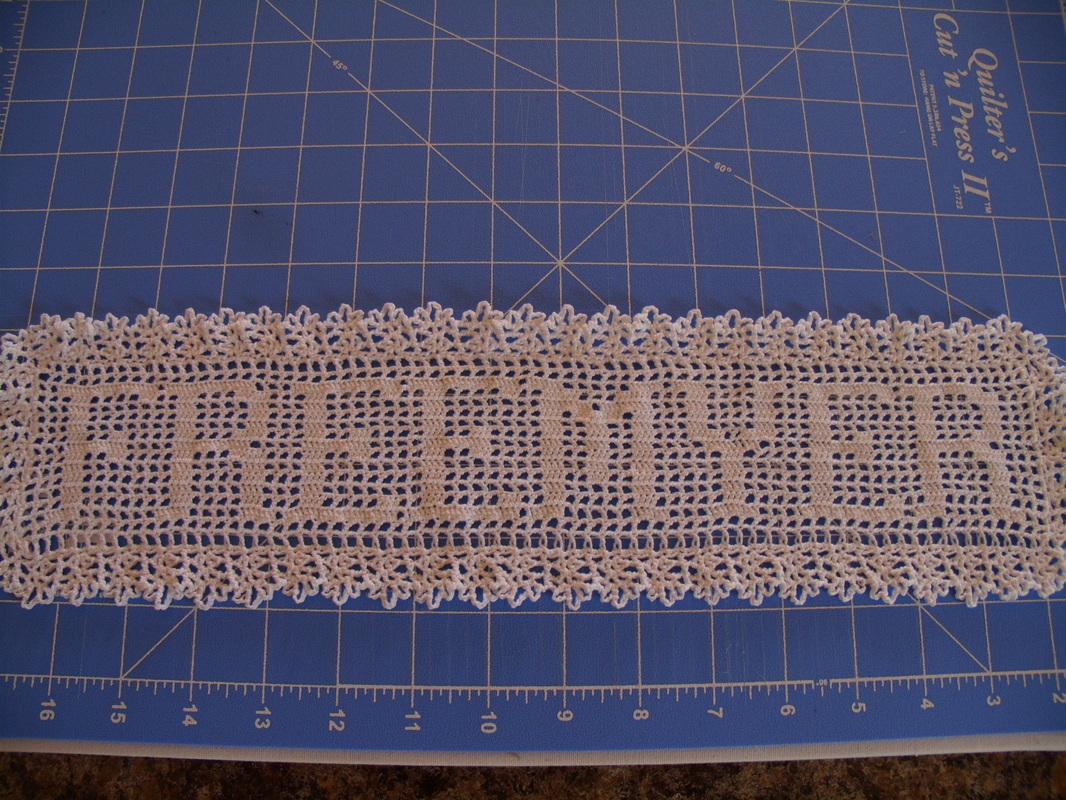
0 Comments
Leave a Reply. |
Author
My name is Annissa, owner of MissNissDesigns. I am a knitter, crocheter, sewer, and all around crafty lady. Archives
April 2023

|
