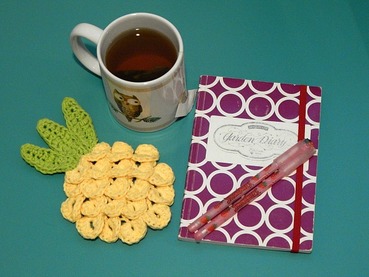
 OH Happy Day! Today's creation was a lot of fun. I've been planning it since day one and I am very happy that I didn't have to wait long to do it. Pineapples, to me, seem to be a quintessential fruit of summer. That sweet juicy flavor paired with a bit of acid. YUM! They look so happy, and maybe a little dangerous, too. ;) Either way, this one is a definite reminder that summer is on its way. Once again I created the pattern myself, but I did have some inspiration. I had found the Pineapple Trivet by Debra Arch on Ravelry. It's a really cute pattern, but there isn't an option to purchase only the pineapple pattern. In lieu of a pattern to follow I used some basic reasoning and created this! I thought it turned out really well. It's a wee bit smaller than what the original appears, but that's okay with me. Mine measures roughly 5 inches wide and 7 inches tall. It works great for small pans or even coffee cups. I, on the other hand, just hung it on the wall! ^_^ 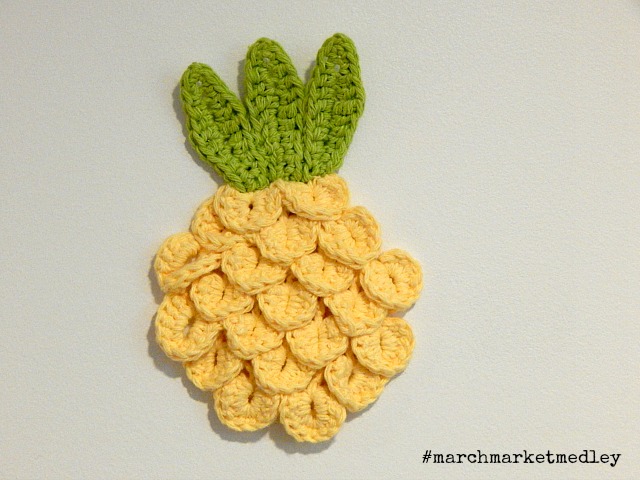
0 Comments
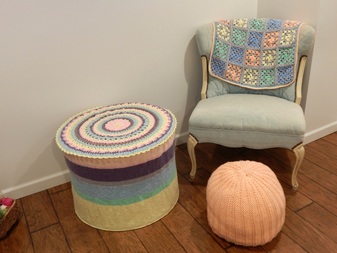
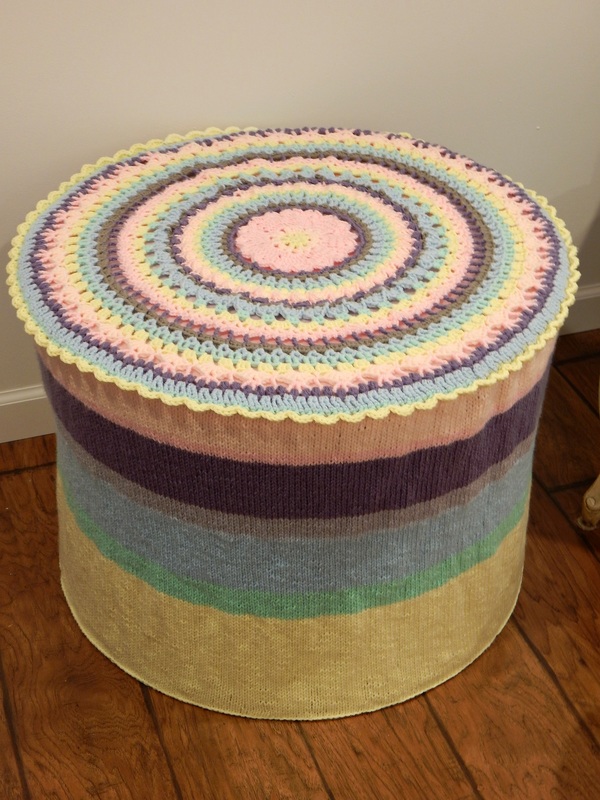
When I saw that today's challenge was celery I must admit that I groaned a little inside. Celery is a complex textured veg that if made in its traditional form would be difficult. I also didn't want to spend ALL day on this little project. As a result, I went with something a little simpler. Snack form if you will! I present you Hummus and Celery sticks. 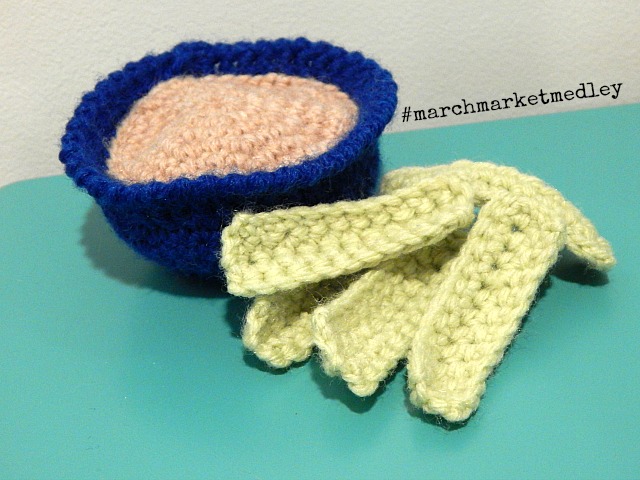  March 2nd's produce for the #marchmarketmedley challenge was the fabulous PEA. Okay, okay. I know today is not the 2nd anymore, but my day got away from me and I ran out of time to write. For my design I chose to go with crocheting again. I just find crochet so much more flexible than knitting when creating 3-D objects. I will be attempting some knit items for the challenge, though. Don't you worry! Anyway... When I garden I REALLY love to add a lot of color. This means growing foods that are not only delicious, but a different color than you would normally see. Last year I picked out the Snap Pea 'Blauwshokkers' or Blue Podded Pea. This variety is an heirloom from Europe that is ornamental with a bluish purple pod and lovely violet and mauve flowers. It was only natural for me to model my crochet pea design after this variety! 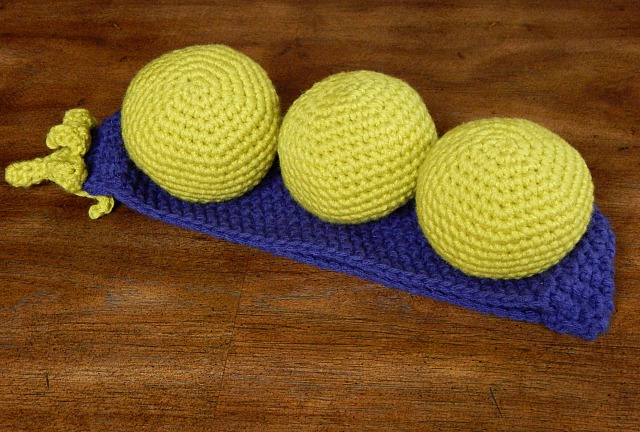 Truth is, I'm really in love with this piece. It is just so COOL. I think it's pretty functional as well. Personally, I like to just set it on my chair and let it look sweet all by itself or with other pillows. Speaking of which, you COULD use it as a pillow as well. Last, but not least, use it as a toy for your child or pet. Who wouldn't want to play catch with those cute squidgy peas? Clean up is a breeze, too. Just stuff the peas back in their pod and store away for next play time. 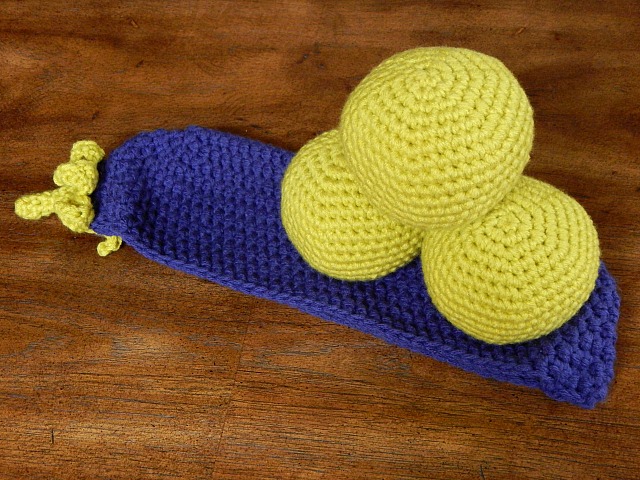 This brings me to where you'll be able to get the pattern. You'll be able to find the pattern for sale in my Ravelry and Etsy Shops. If you'd like to order a physical item, direct message me on any of my social media venues!
Hope you Enjoy! Happy March everyone! I cannot believe that we're already in the 3rd month of 2016. This month I am participating in a project/challenge called March Market Medley! The hastag under the same name, #marchmarketmedley was co-created by @stephaniefehrenbach and @jenmanship on instagram. They both do beautiful watercolor work and I definitely recommend checking them out.
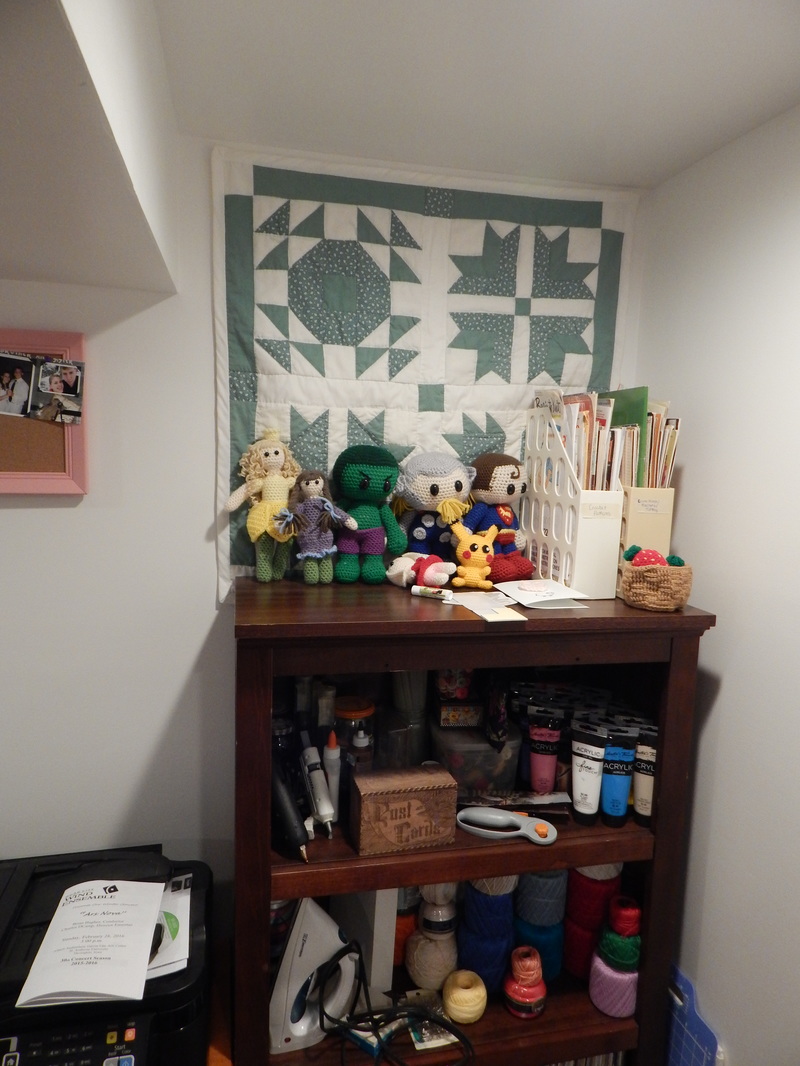
Strawberry Pattern 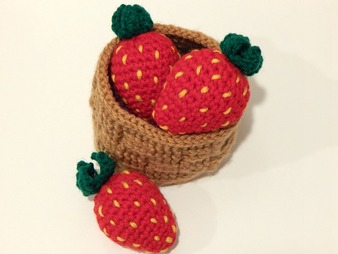 Materials Stitches Yarn - worsted weight Chain (ch) Red Single Crochet (sc) Green Half Double Crochet (hdc) Yellow Double Crochet (dc) F Hook Slip Stitch Scissors Tapestry Needle Poly-fiber Fill Strawberry Body - with F hook and Red yarn Make magic ring 1. Sc 5 into magic ring. 2. 2 sc into each stitch around (10) 3. Sc around (10) 4. *Sc 1, 2 sc in next stitch* repeat around (15) 5. Sc around (15) 6. *Sc 2, 2 sc in next stitch* repeat around (20) 7. Sc around (20) 8. *Sc 3, 2 sc in next stitch* repeat around (25) 9.-11. Sc around (25) 12.* Sc 3, decrease* repeat around (20) Begin stuffing 13. *Sc 2, decrease* repeat around (15) 14. *Sc 1, decrease* repeat around (10) 15. Decrease around (5) F/O Leaves -with F hook and Green yarn Make magic ring (be sure to leave a long tail for stitching on the leaves) 1. Sc 5 into magic ring 2. 2 Sc into each stitch around (10) 3. Slip stitch into next stitch and then chain 5. Slip stitch into second loop from chain, sc in next, then hdc, and dc into final stitch. Slip stitch into next stitch, repeat 4 more times. F/O Assembly Attach leaves to top of strawberry using the long tail from making the magic loop. Take yellow yarn and stitch on "seeds" as evenly as possible around the strawberry body. Voila, you're done! You now can make a whole basket full of luscious strawberries. I have never actually had a space of my own to do my work. Sure, I took over the living room to knit and crochet, but that was a shared space. My yarn was always getting everywhere it shouldn't and quite frankly it was a little stressful not to have my things in one place. Over the past few years the DH and I have been working on remodeling our little home. It was/is much needed, but that story is for another time. Part of the new layout included an office for ME. An honest to goodness space where I could have all my crafty things, desk and computer, and all the happiness I cared to cram in. :D
The DH built shelves in the wall for my yarn storage. Works pretty well, but it's still quite a mess! An old bookshelf holds many of my other craft tools, but I'll admit not everything is moved down yet. Below is my awesome desk area. I bought my desk on Overstock.com and absolutely love it. :D The future will hold a mounted computer screen and some more decorating. 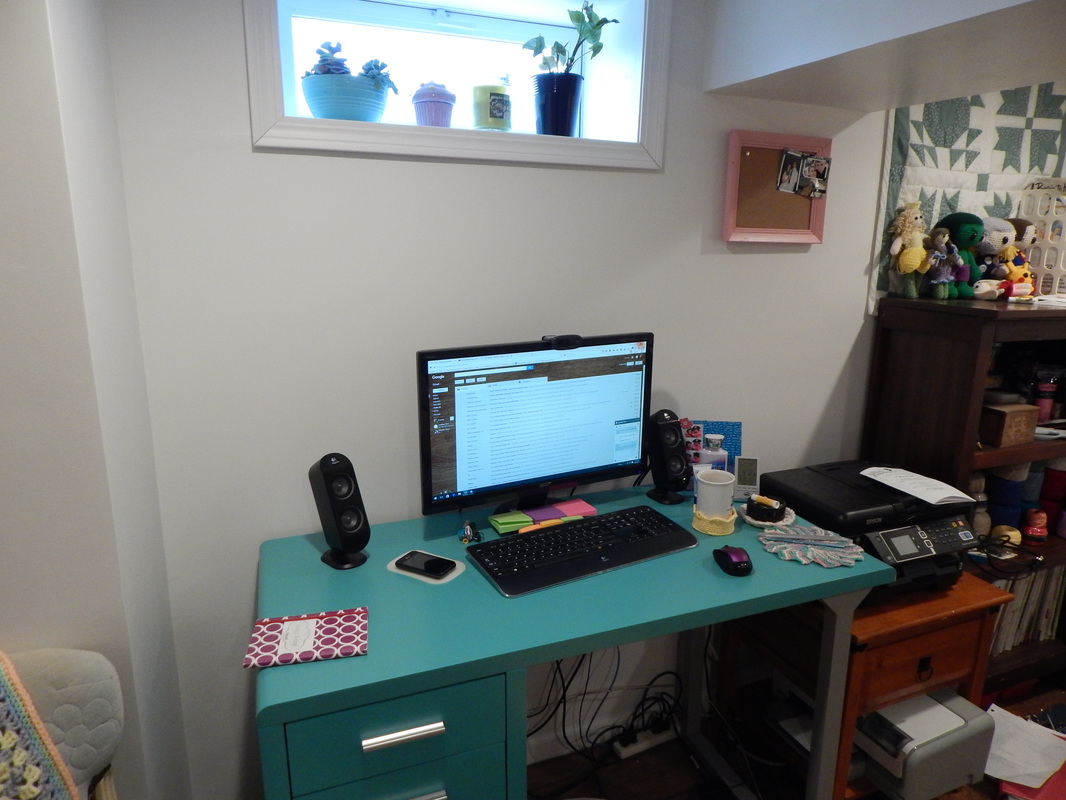 My favorite decoration in the room, though, is my Harry Potter Collection! <3 It's absolutely perfect and hides the ugly view of under the deck.  I just want to officially thank all of you who voted for my pattern! It was really sweet of you and I am flattered that I actually won in my division. :D I hope you all get to try the pattern yourself, too! You can find it HERE in my Ravelry shop. 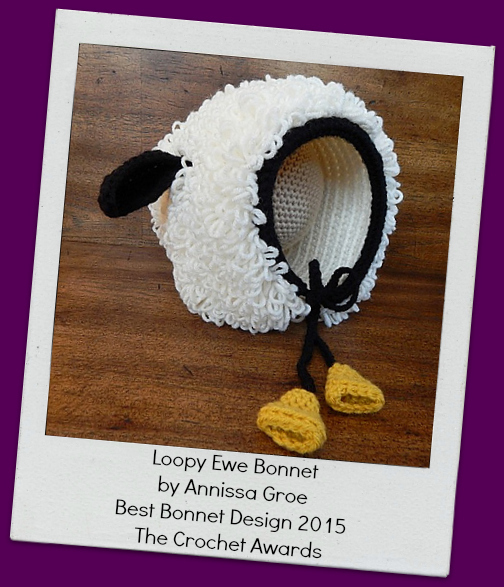 I have been working on making and writing my own patterns for a while now. It's been a dream to have a pattern shop of my own in the event I could not knit or crochet anymore. I know, a sad thought, but arthritis does happen and so do accidents! Over the past year I have been very slowly developing some cute designs that are definitely in my style of work and that I know you will love! One of the very first patterns I made up was this Stegosaurus Hat. The idea for it obviously came from roaming around looking at dinosaurs as well as the two colors of yarn that were lying in my stash. I thought, "Why not make something super cute and fun for kids (and adults) to wear while keeping themselves warm?" So, the Stegosaurus hat was born. I have had most of the pattern lying in wait for a long time. It wasn't until now that I felt I was ready to list it in my Ravelry pattern shop. It took me a while to get past the idea of thinking, "Is it really ready?" I mean, come on, writing a pattern takes time and you're always re-reading it to make sure it makes sense. I just needed to let go and send it into the virtual world to decide. 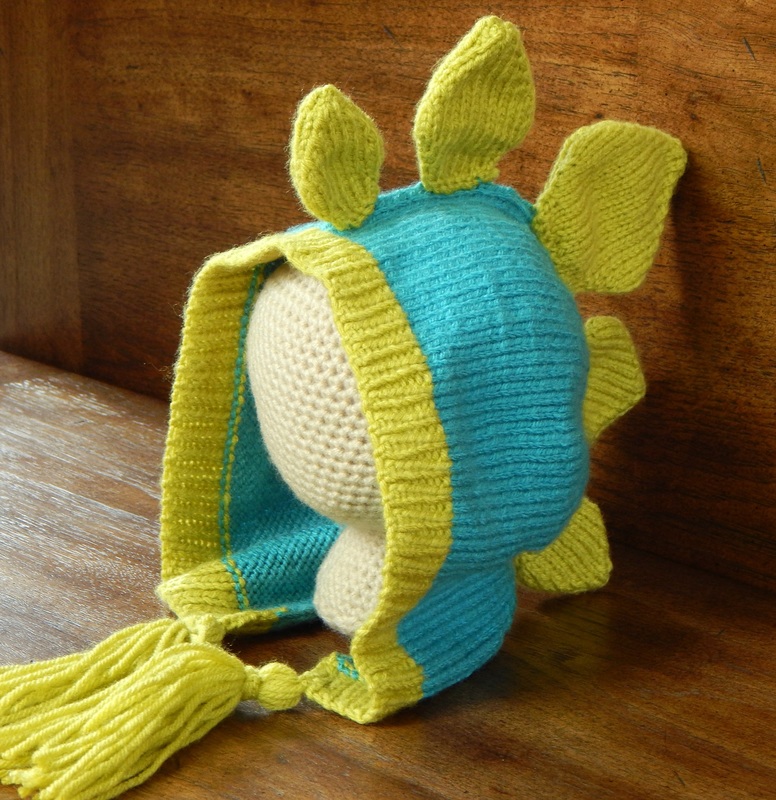 Well, it was! I am so glad I posted it, too. Ravelry immediately gave it some love and I hope you will as well. The hat is super cute and a lot of fun for all those dinosaur lovers! Right now I only have the pattern for Child (ages 1-12) listed, but the adult one is coming soon! Why not head over to my pattern shop and purchase the pattern for yourself? I know you won't regret it. ^_^
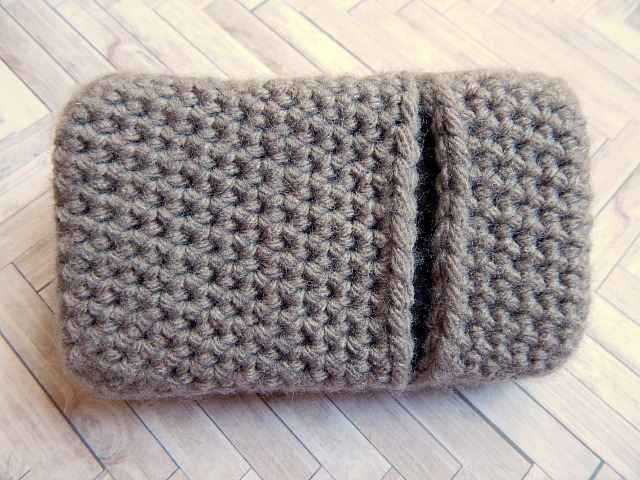
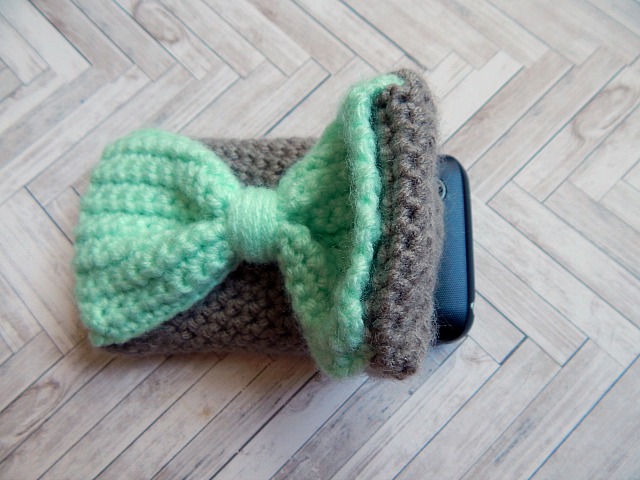
http://www.ravelry.com/patterns/library/stegosaurus-hat-3 I just got a new phone. Ehem, I mean I just got my FIRST smartphone. In my household we use tracfone for cell coverage, since paying astronomical monthly bills really didn't make sense for our phone usage. However, my previous phone was starting to have coverage issues. When visiting MN it completely locked up and I wasn't able to use it at all. Okay, a $10 phone probably wasn't the best choice in the long run. It suited me well for almost two years, so I guess this upgrade wasn't so bad. The reasons I chose a smartphone instead of a similar one to the previous are: 1. I didn't want to have a coverage problem again. 2. A smartphone would allow me to use gps, internet, and lots of other goodies! 3. It's also an MP3 player (my other one accidentally went through the wash :( ...a long time ago). 4. The phone I chose had great reviews AND it was cheaper because of a promotion package. One concert I have is protecting the screen if I were to put it in my purse on my way out. I didn't want to pay for a plastic case that I know I wouldn't like. So, of course I crocheted a cute one up for myself! It is super adorable and I hope you like it, too! Here's the pattern, which is easy adjustable to your own phone size. Bow Cell Phone Case 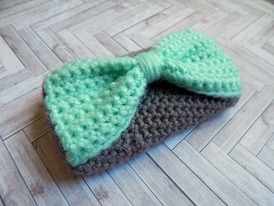 Materials Stitches Gray worsted weight yarn Chain (ch) Mint 2orsted weight yarn Single Crochet (sc) H Crochet Hook Scissors Gauge Tapestry Needle 5 sts. : 1 inch 5 rows : 1 inch Case Bottom Chain 13 1. Sc into second ch from hook, sc next 9, sc 3 into last ch, sc 10 into the opposite side of the foundation ch, 2 sc into last space. 2.-16. Sc around Fasten off leaving long thread -- will be used to attach to case top. Case Top Chain 13 1. Sc into second ch from hook, sc next 9, sc 3 into last ch, sc 10 into the opposite side of the foundation ch, 2 sc into last space. 2.-8. Sc around Fasten off Bow Chain 21 1. Turn, and sc into the second ch from hook. Sc across. 2.-14. Ch 1, turn, sc across. Fasten off any loose ends. Now cinch the middle of the bow and wrap a long piece of yarn around it several times. Secure loose strand in the back with a knot. Assembly Whip stitch Case Bottom and Case Top together. Start from the side, stitch together around the back, and fasten of on the other side. This should leave you with a flap to slip your phone into and ability to fold the top over your phone. Next, attach the middle of the bow centered on the back of the case. Then secure four corners of the bow to the four corners of the case. Voila! You're done and have a new and CUTE cell phone case. *I'm sure my phone is a little smaller (4.5" x 2.5") than many of your iphones or other androids, but the pattern can be easily adjusted. Add or subtract stitches and rows as needed.
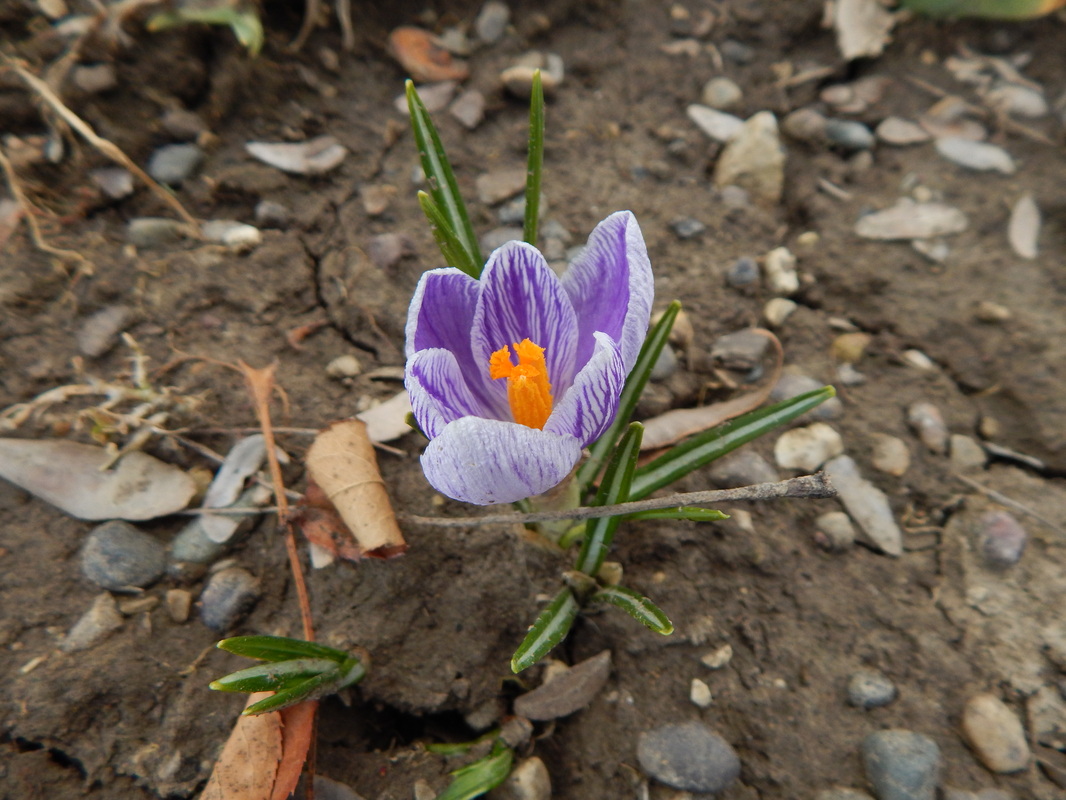
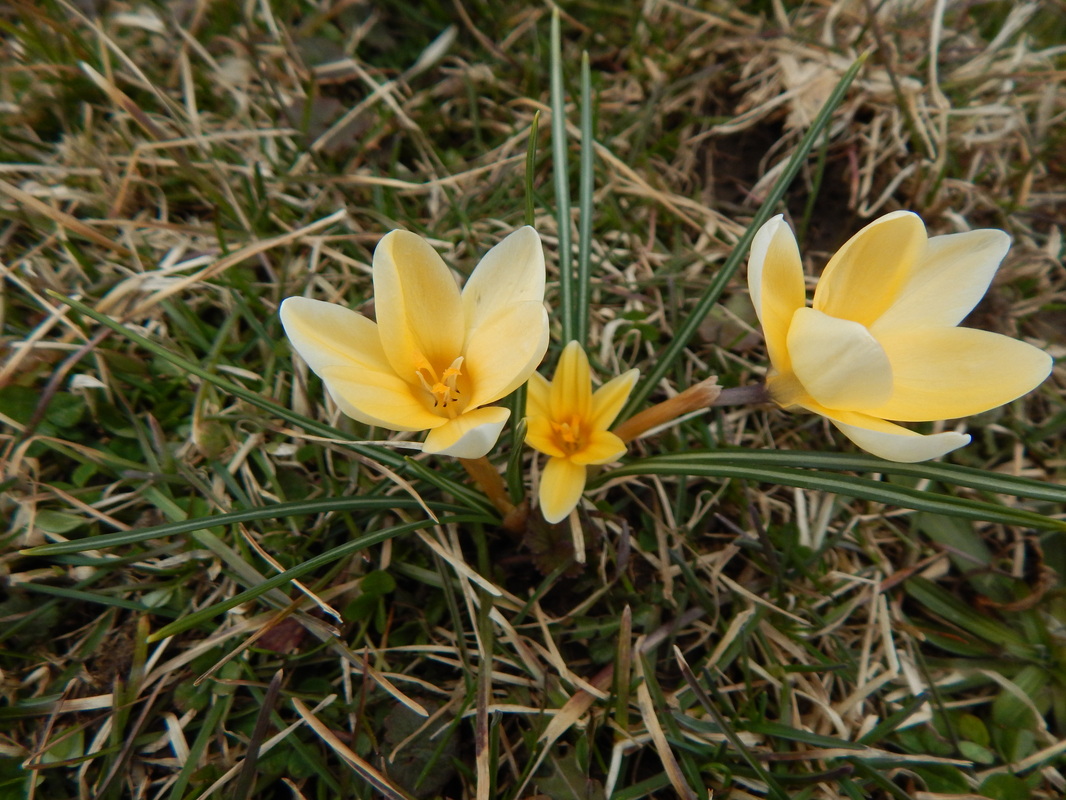
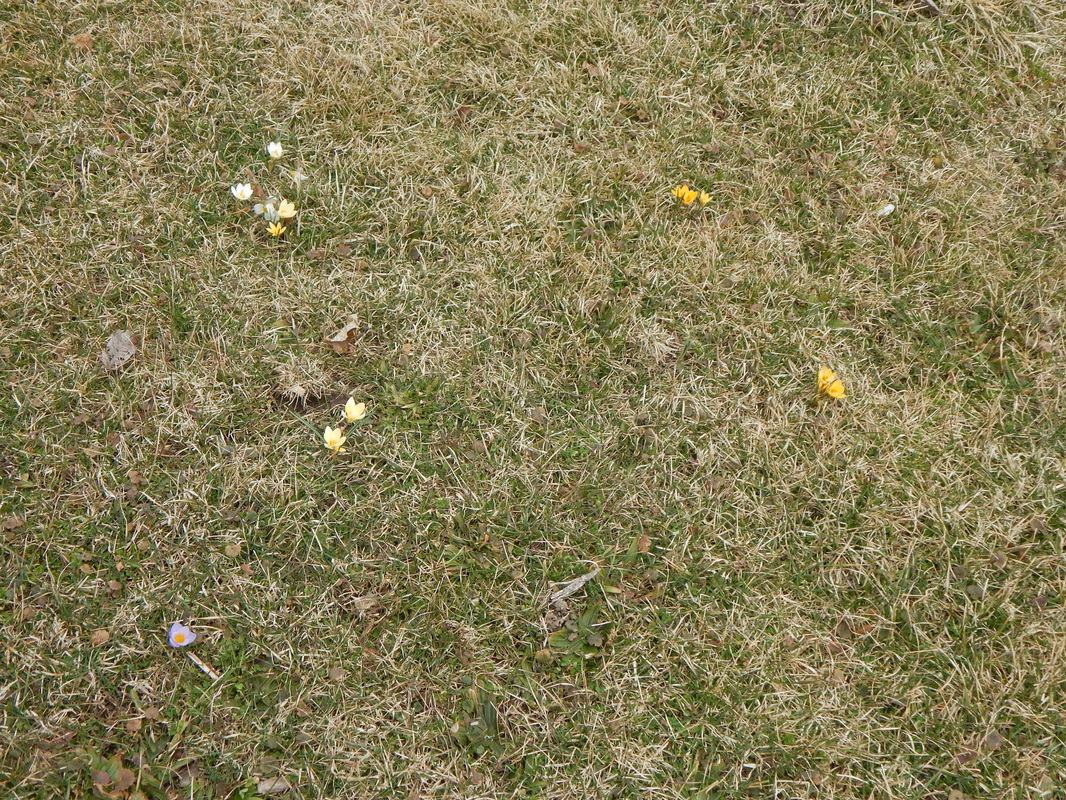
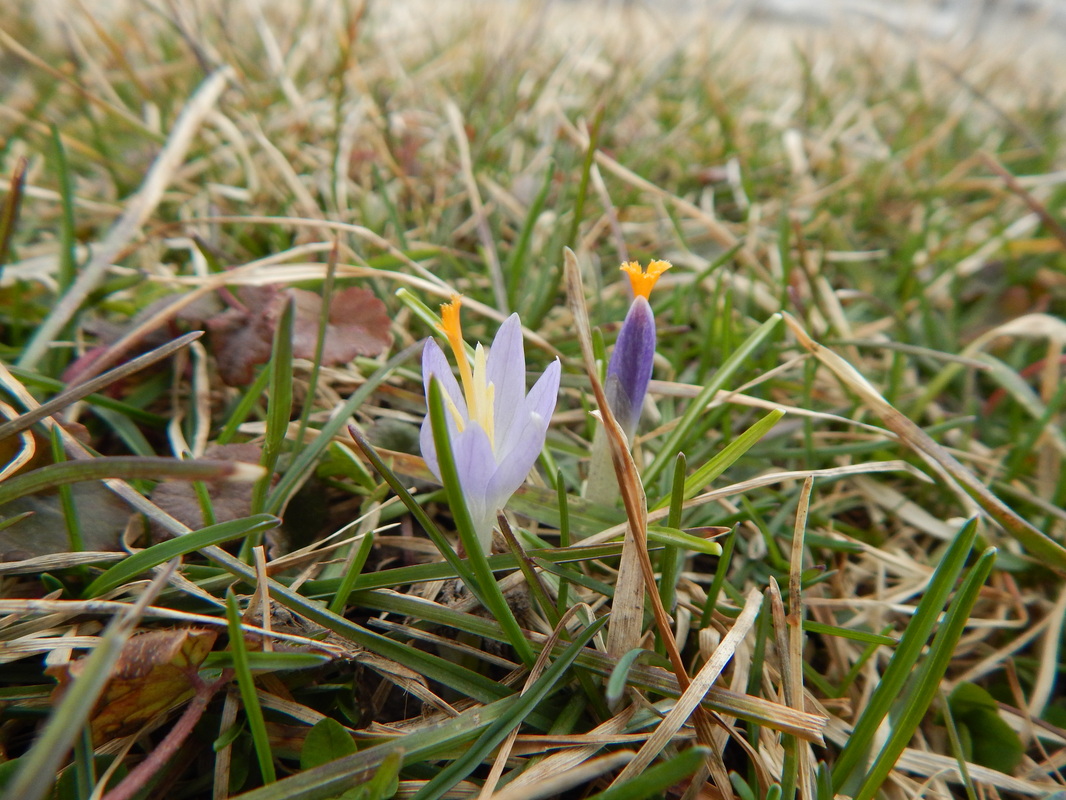
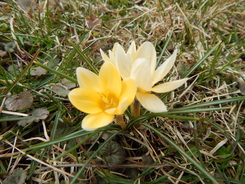 It's a BLOOMIN' good day, today! The spring equinox was last week and since then the crocus have popped in my gardens. I have a few lining our herb beds as well as some in our orchard. More will be added throughout the years for a grander show, but for now their sweet little selves are enough. ^_^ The colors of the crocus themselves have inspired me to create an adorable new design for baby boots. Ya, they're for girls again this time, but irresistibly cute! I'm a big fan of bows, so this pair sports a giant bow in the front with a strap that weaves in and out around the ankle. I'll have them in shop soon along with a few other color options for the bows! 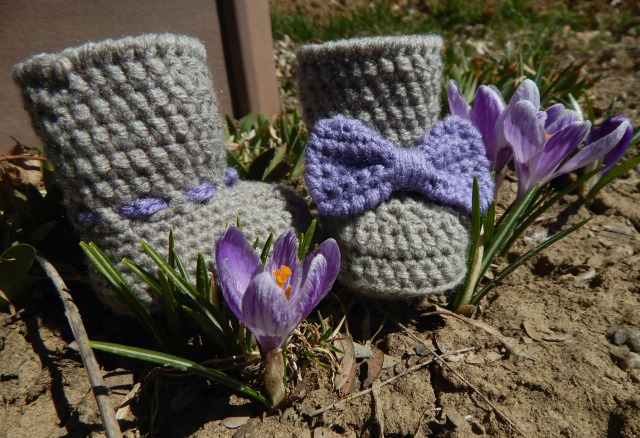 Aren't they cute next to the freshly bloomed crocus? I think so. Whatever you are doing, enjoy the nice weather if you have some. Go explore new places. Enjoy the beauty and the fresh new season that is upon us.
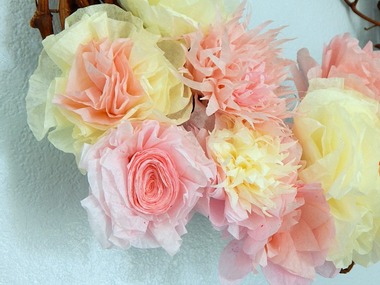
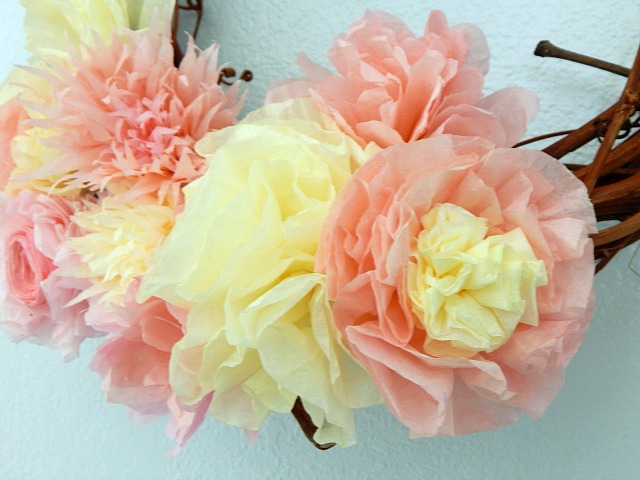
Hey everyone! Just sitting down to do a quick post. I've been a bit busy with other parts of my life. Spring is almost officially here, but the weather has had a head start! So, I've be busy outside working in the gardens and starting seed for the growing season. It really is my favorite time of year and brings me so much joy! I haven't shared my gardens here, so here's a LITTLE slice of what I am looking forward to. What you see in the picture is our wildflower bed, on the left side is what we call the nectar bar (not finished in the photo), and on the right there is now a huge iris bed. The entire bed sits in the middle of two large vegetable plots, so the main purpose for these flowers is to invite pollinators in that will help manage pests and pollinate or food crops. 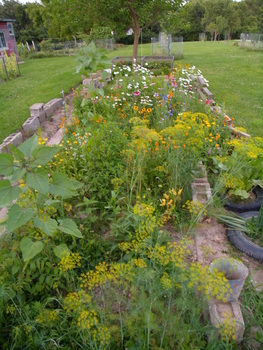 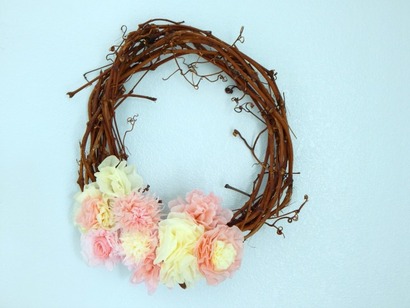 Enough of that. My main purpose for posting today is to share a quick and easy DIY project for your Spring wreath. I made the entire thing from things I have at home which essentially made it as close to free as possible. At least for me! Materials: Grape vine wreath Coffee filters Dye Water Bowls Scissors Masking Tape Glue To begin I used grape vine from fall prunings to make a wreath. I know not everyone has access to this, but you can pick up an inexpensive wreath at the store. Next I mixed water and my choice of dye (use natural dyes if they're available to you!) in a bowl, took several filters, and let them soak up the colored water. Wring the coffee filters out, pull them apart, and lay flat to dry. I found drying took 20-30 minutes tops. Now it's time to make the flowers. There are several other tutorials out there that can give you ideas, but I simply went free form. Here are a few methods I used: 1. Cut the coffee filter into a spiral. Start with the outside section and tightly roll it together. You'll need to do several of the initial spirals to make a sweet spiraled rose. 2. Fold the filter in half four times. On the top edge cut either spikes or waves. Unfold and scrunch the outside edges up towards the center. This will give you a neat textured middle with a bit of a stem to hang onto. 3. Scrunch outside edges up towards the center of an uncut filter for large frilly petals. Mix and match these methods for neat textures and color combinations. Use masking tape around the bottoms of your flowers to hold them together. Just have fun! The final task is to glue the finished flowers onto your wreath. Once you're done, tada! An easy DIY spring wreath for your door.
|
Author
My name is Annissa, owner of MissNissDesigns. I am a knitter, crocheter, sewer, and all around crafty lady. Archives
April 2023

|