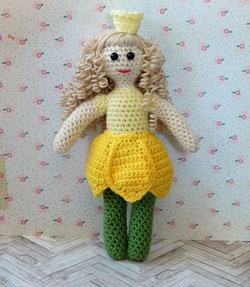
 Occasionally, I like to take some time to make something enjoyable for myself. Really let the creativity flow into something that I find enchanting. My recent creation was an inspiration by the poem Sweet Daffadowndilly written by Christina Rosetti. As a lover of spring I set out to recreate 'Lady Daffadowndilly,' mentioned in the poem, in doll form. Her creation was completely freestyle, but I do hope to have a pattern for her soon. For now, I'll offer to you how I made her hair. It took me a while to decide what type of hair that would embody her. She is the essence of spring. Wild, magical, yet regal with her trumpet crown. Curly seem only befitting of such a beautiful character with untamed curls billowing around her head. Before you start with the curls you will need to make a base for the hair to be stitched onto. In the same color as the doll's hair, crochet a small cap that will be the general outline for the hair. You will then need to stitch in some bangs with the beginning of a part line. This will be your guide on where to attach the curls. Here's what you'll need to make a curly mop for your own doll: Yarn, in the color and weight to you choose (I used worsted) *be sure your yarn won't melt under high heat* Hair Dryer Tinfoil Chopstick or Paper Straw Scissors Tapestry Needle Fabric glue or Hot Glue 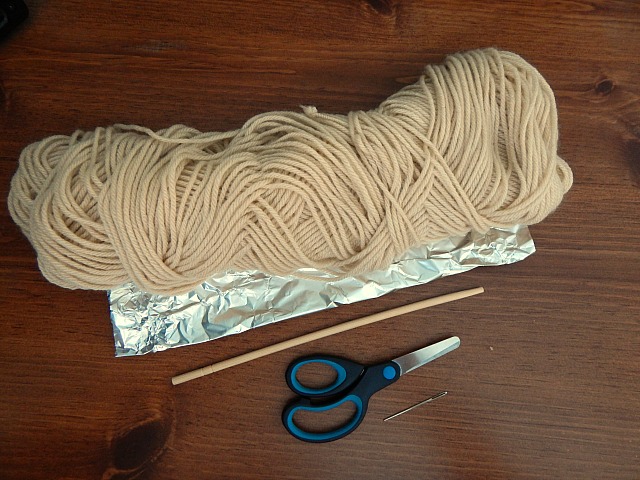 Step 1: Loosely tie the yarn to one end of the stick or straw and then wrap it around. I would gently twirl the stick, guiding the yarn with my finger, and then scrunch it up to get more on the stick. 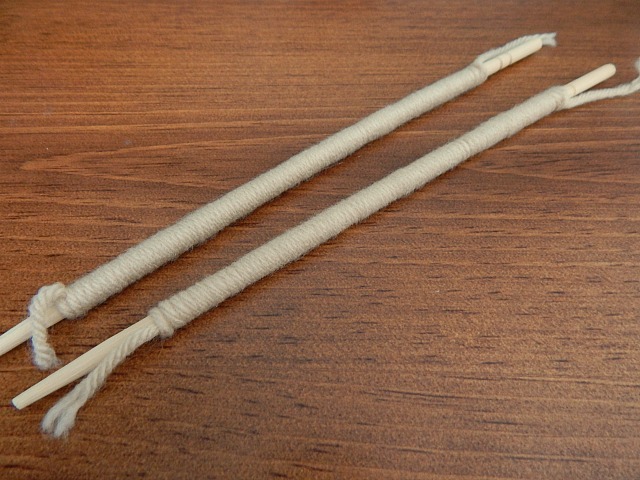 Step 2: Place the prepared sticks or straws in the tinfoil. Fold the tinfoil up to make a little basket shape. Now you will need to heat the yarn wrapped sticks or straws with the hair dryer. I would do this for a couple minutes just to make sure they warmed up enough. The tinfoil is used to evenly heat the yarn on the stick and create a higher heat. 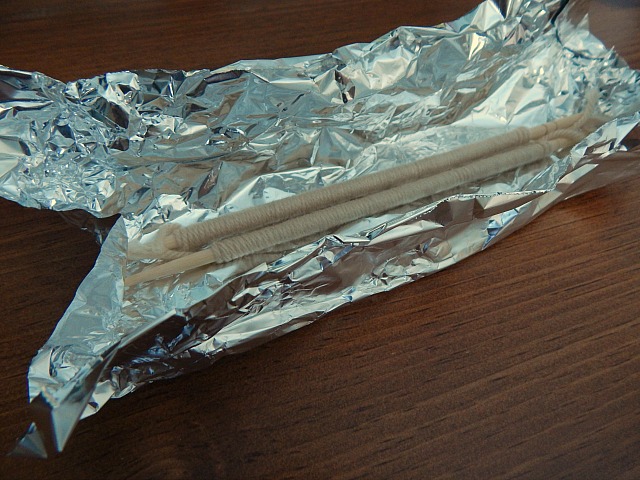 Step 3: Take the yarn wrapped sticks or straws out of the tinfoil and let cool. This will take several minutes. Once cool, gently push the yarn off the stick or straw. The result will look like the picture below. 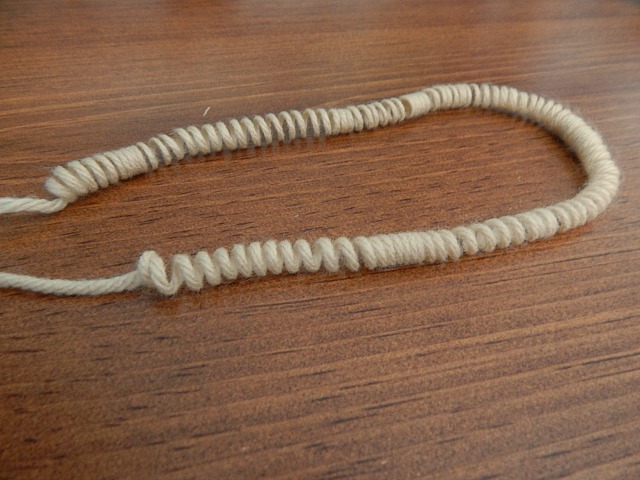 Step 4: Cut the curly yarn into long and short lengths. Start at the front, picking up at where the bangs end on the head. Attach the doll's hair by holding several curl lengths together and back stitch them in place where the part line is to be. Or in other words, you are stitching a loop around the bunch of curly threads to keep it in place. Continue attaching the rest of the hair. 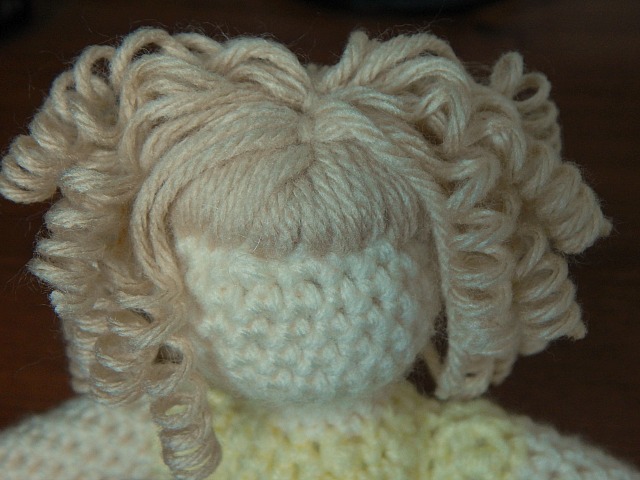 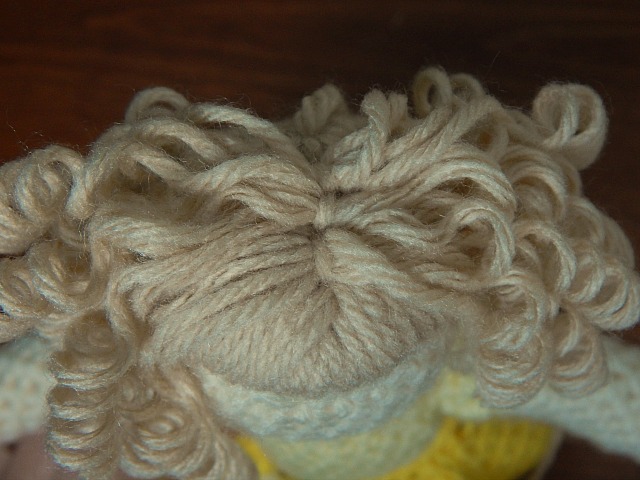 Step 5: The final step is the keep the hair in place and hide as much of the cap as possible. You will need to glue the strands down on the cap. I layered my doll's hair by putting the longer strands underneath and then topping them off with shorter ones. You may also consider doing the doll's hair all one length and gluing it onto the head in the same spot all the way around. 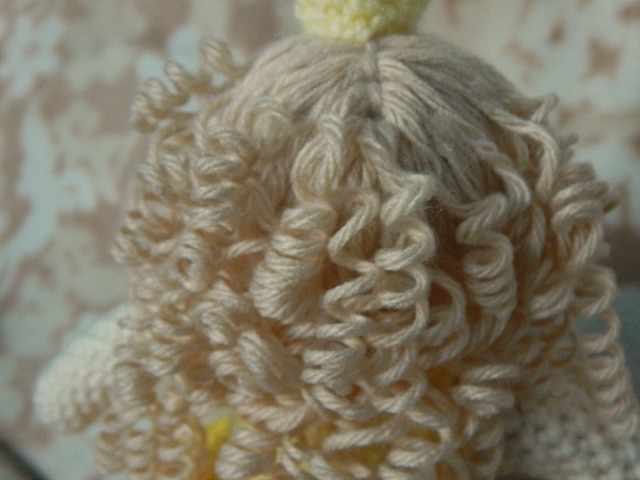
4 Comments
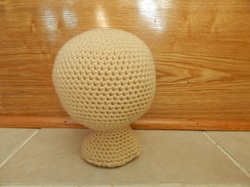 Hey All! I'm popping by today to share something fun I whipped up the other day. It'll really help with photographs and listing items in the shop. If you follow the goings on in the shop, you'll notice that a majority of my listed products are shoes or hand warmers. Both are fairly easy to photograph by themselves, or with the hand warmers, slip on the hand for an idea of what it would look like worn. What I don't have listed are my headbands and hats! I don't feel that laying them flat worked well, I hate the look of styrofoam head forms, and of course I don't have any children myself at the moment! Nor do I have any near by that I can borrow. I followed Erica's pattern from her blog Five Little Monsters. The one I whipped up was the 3-6 month form, but I find that it does alright with setting 1-2 year hats on as well. I made sure to stuff the top head well so that it nicely keeps its shape. The neck part lifts the head portion off the surface to have a better look at the product being displayed. I LOVED how it turned out. Simple and does the job. With that done, keep your eyes peeled for a few headbands to pop up in the shop! Here's a little preview of my Brown Eyed Susan headband. 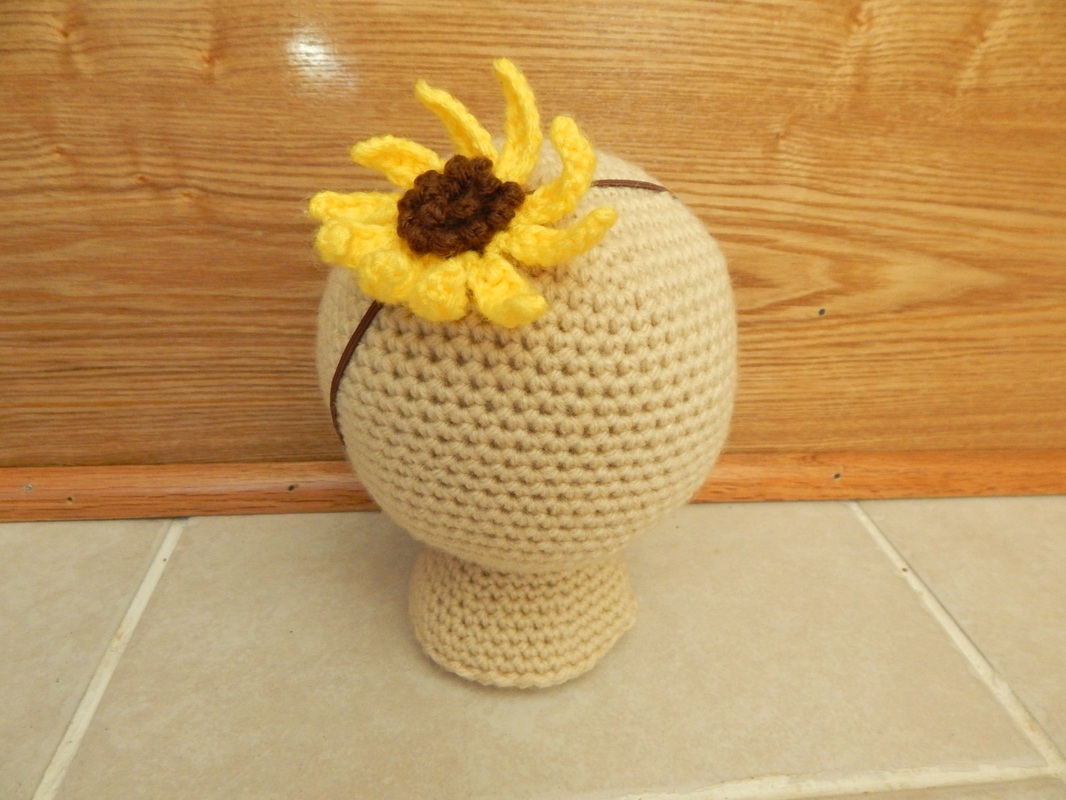 |
Author
My name is Annissa, owner of MissNissDesigns. I am a knitter, crocheter, sewer, and all around crafty lady. Archives
April 2023

|
