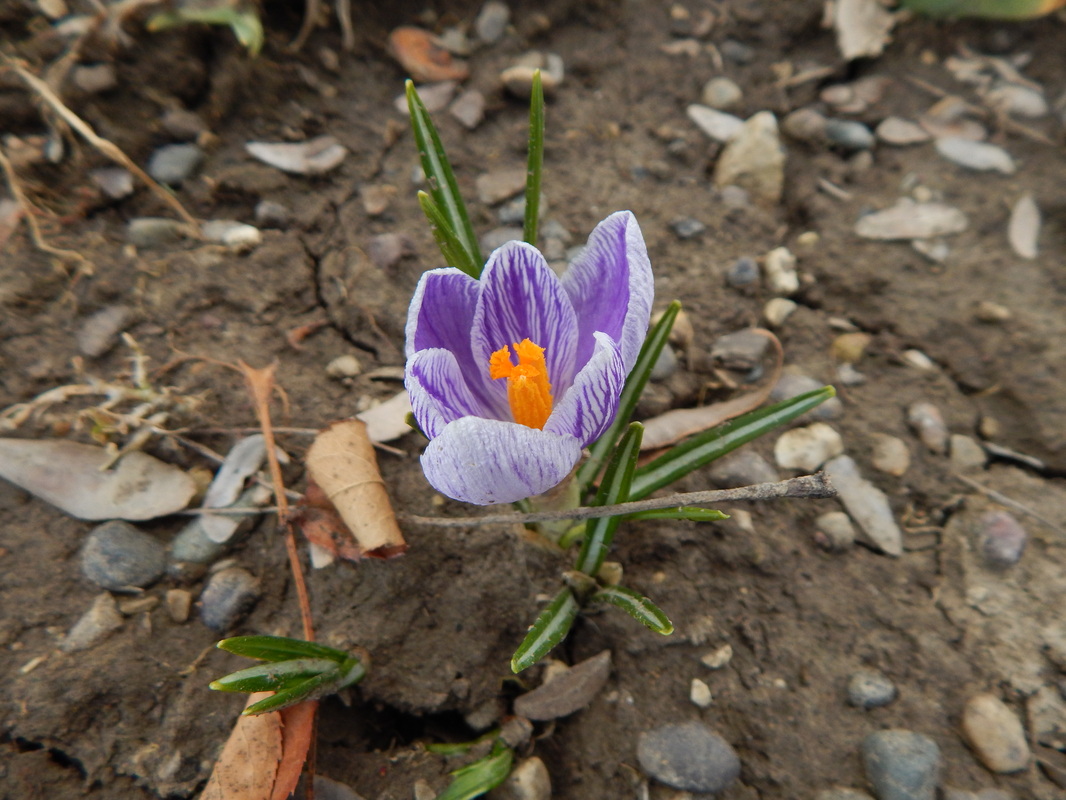
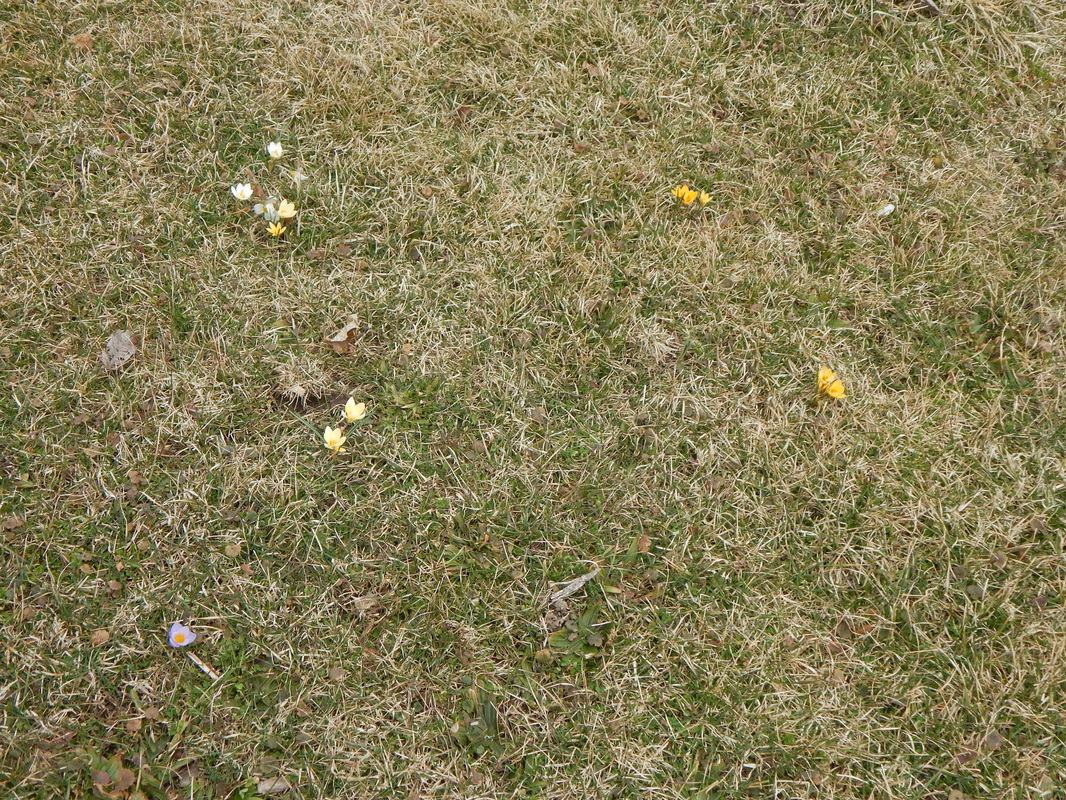
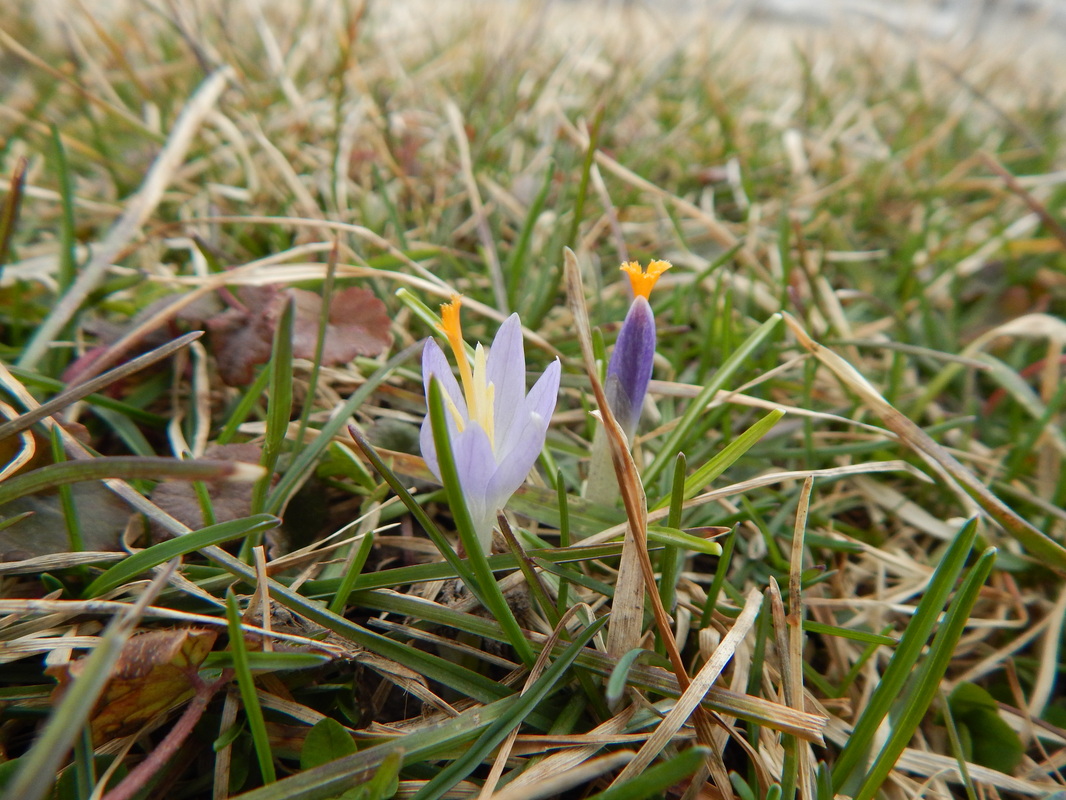
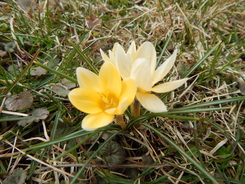
 It's a BLOOMIN' good day, today! The spring equinox was last week and since then the crocus have popped in my gardens. I have a few lining our herb beds as well as some in our orchard. More will be added throughout the years for a grander show, but for now their sweet little selves are enough. ^_^ The colors of the crocus themselves have inspired me to create an adorable new design for baby boots. Ya, they're for girls again this time, but irresistibly cute! I'm a big fan of bows, so this pair sports a giant bow in the front with a strap that weaves in and out around the ankle. I'll have them in shop soon along with a few other color options for the bows!  Aren't they cute next to the freshly bloomed crocus? I think so. Whatever you are doing, enjoy the nice weather if you have some. Go explore new places. Enjoy the beauty and the fresh new season that is upon us.
0 Comments
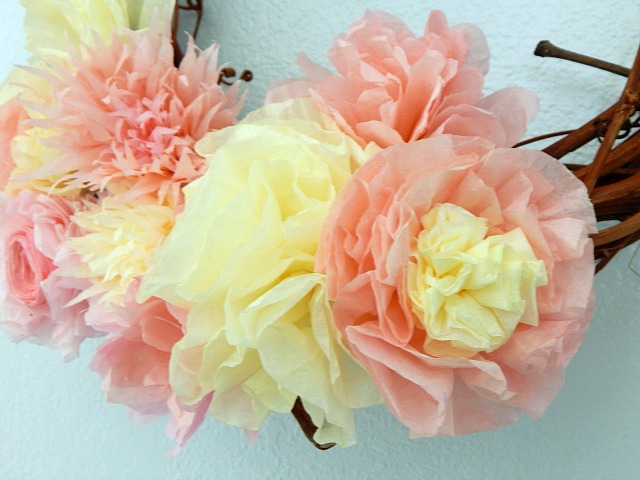
Hey everyone! Just sitting down to do a quick post. I've been a bit busy with other parts of my life. Spring is almost officially here, but the weather has had a head start! So, I've be busy outside working in the gardens and starting seed for the growing season. It really is my favorite time of year and brings me so much joy! I haven't shared my gardens here, so here's a LITTLE slice of what I am looking forward to. What you see in the picture is our wildflower bed, on the left side is what we call the nectar bar (not finished in the photo), and on the right there is now a huge iris bed. The entire bed sits in the middle of two large vegetable plots, so the main purpose for these flowers is to invite pollinators in that will help manage pests and pollinate or food crops. 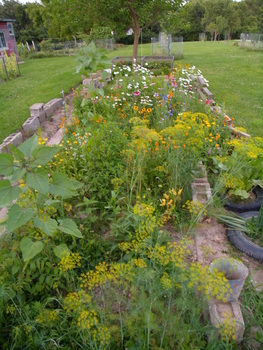 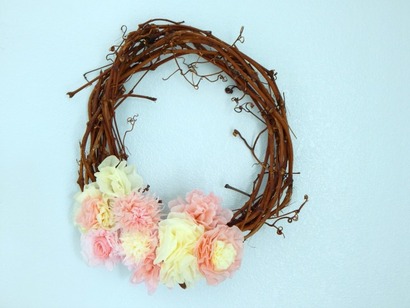 Enough of that. My main purpose for posting today is to share a quick and easy DIY project for your Spring wreath. I made the entire thing from things I have at home which essentially made it as close to free as possible. At least for me! Materials: Grape vine wreath Coffee filters Dye Water Bowls Scissors Masking Tape Glue To begin I used grape vine from fall prunings to make a wreath. I know not everyone has access to this, but you can pick up an inexpensive wreath at the store. Next I mixed water and my choice of dye (use natural dyes if they're available to you!) in a bowl, took several filters, and let them soak up the colored water. Wring the coffee filters out, pull them apart, and lay flat to dry. I found drying took 20-30 minutes tops. Now it's time to make the flowers. There are several other tutorials out there that can give you ideas, but I simply went free form. Here are a few methods I used: 1. Cut the coffee filter into a spiral. Start with the outside section and tightly roll it together. You'll need to do several of the initial spirals to make a sweet spiraled rose. 2. Fold the filter in half four times. On the top edge cut either spikes or waves. Unfold and scrunch the outside edges up towards the center. This will give you a neat textured middle with a bit of a stem to hang onto. 3. Scrunch outside edges up towards the center of an uncut filter for large frilly petals. Mix and match these methods for neat textures and color combinations. Use masking tape around the bottoms of your flowers to hold them together. Just have fun! The final task is to glue the finished flowers onto your wreath. Once you're done, tada! An easy DIY spring wreath for your door.
|
Author
My name is Annissa, owner of MissNissDesigns. I am a knitter, crocheter, sewer, and all around crafty lady. Archives
April 2023

|