|
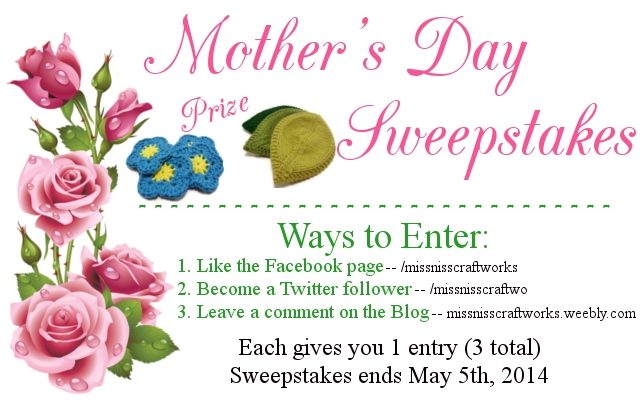
I've been wanting to do a sweepstakes/giveaway for a while now, but couldn't quite put my finger on what I wanted to do. There are so many holidays throughout the year, it's hard to find one to highlight. Plus, I love them all! So, I thought since Spring is my favorite time of year and the next major holiday lands in my birthday month of May, I might as well honor all the mothers out there with a giveaway just for them! Information about the giveaway can be found in the picture below, but I'll elaborate a little bit and let you know all the long-winded details including what you'll win! Let's start with the PRIZE!!
The prize is something that will really pamper mom! She works hard to keep the family's life rolling and deserves some comfort and a treat. I'm giving away THREE of my hand knit leaf washcloths, one of each color, and a set of four forget-me-not make up removers. $20 dollars in value and you don't have to pay shipping! Entry Rules: Well, you have three ways to enter! Each one will give you a separate entry, too, if you complete them all. First, you can like MissNissCraftworks on Facebook. Already like the page? Just quickly comment on the sweepstakes post to let me know you'd like to be entered for the prize. Second, you can become a follower of MissNissCraftworks on Twitter! Again, already a follower? Comment on the sweepstakes post or retweet the post to let me know you want to be entered. Finally, simply comment on this post below! Want to make it a little fun? Share your favorite memory of your mother or being a mother! --Anyone who wants to give a wonderful gift to their Mom or Grandmother or Greatgrandmother or Aunt or any other special woman in your life who's been like a mother to you! -- Check out my Etsy Shop for more gifts for Mom this year!
2 Comments
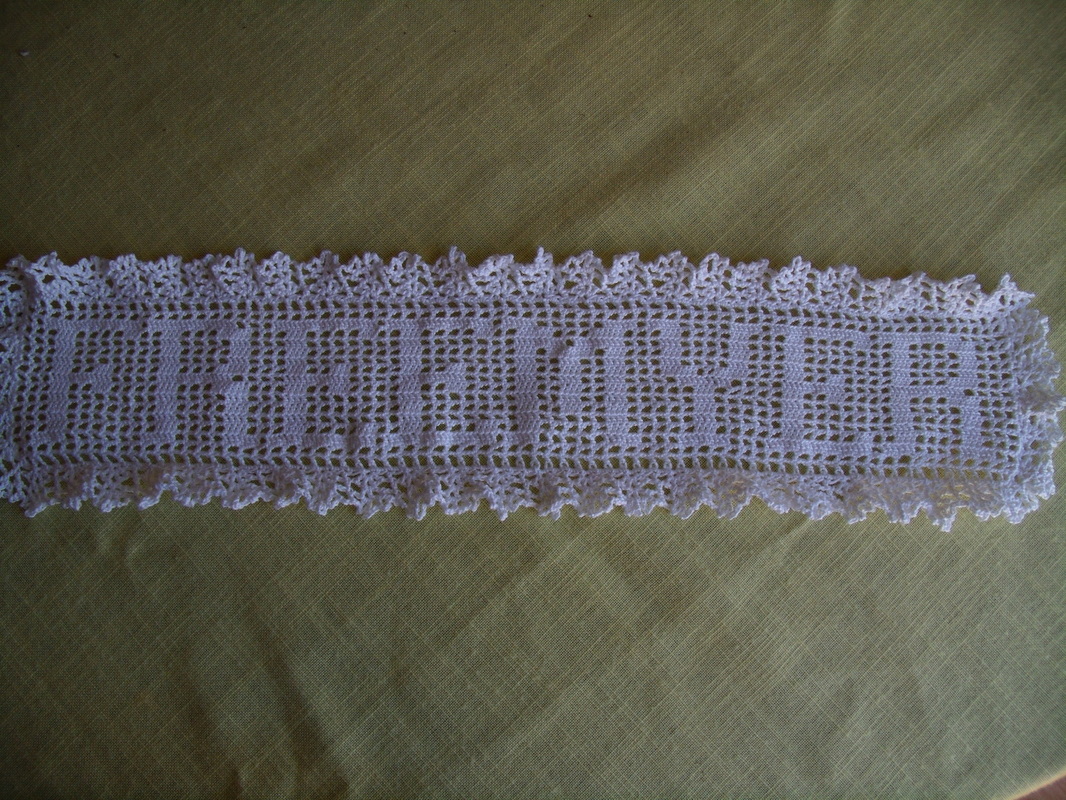
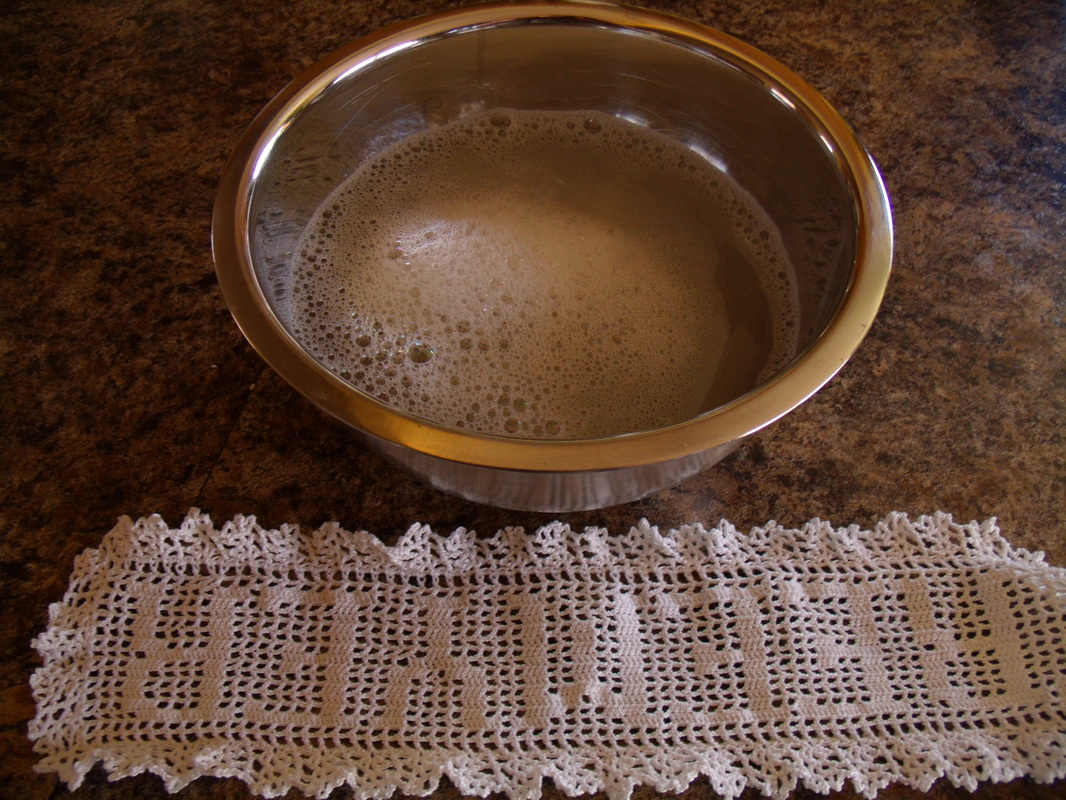
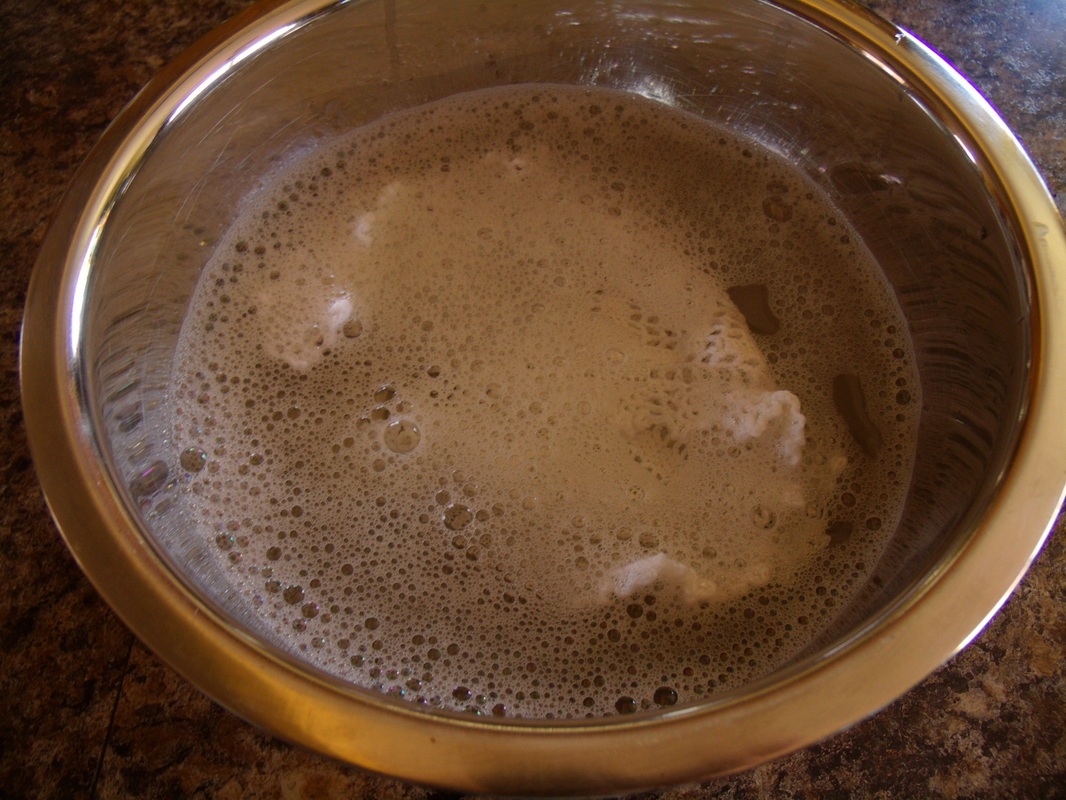
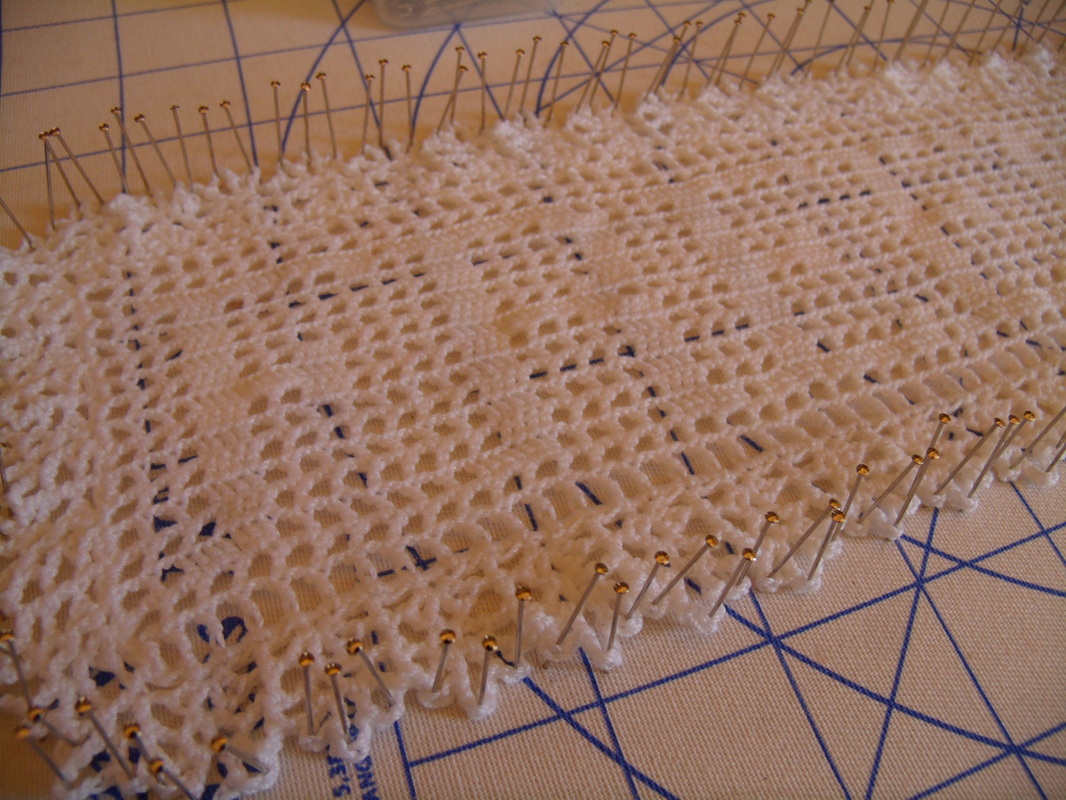
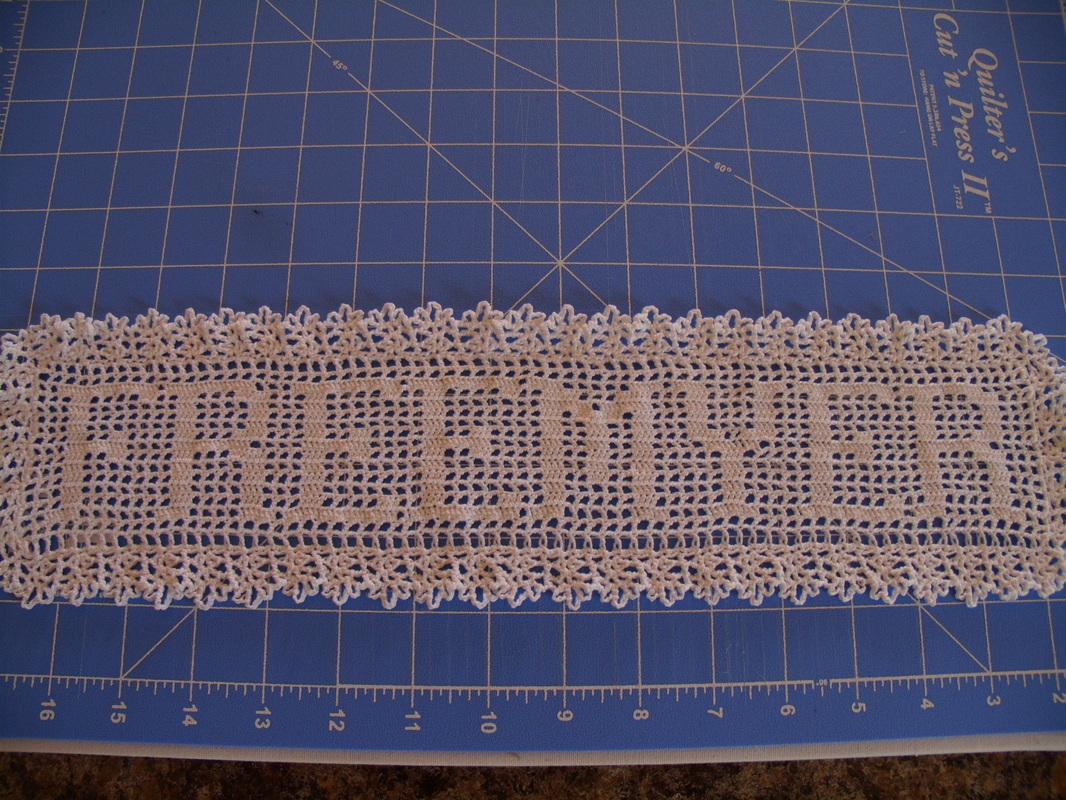
This past weekend my hubby and I were invited to a wedding. Our first one out of four that we know of for the year! The gift we came up with was for me to make a crochet name filet with their family name. My Great Aunt Grace did this for a lot of the family, so I thought it would be a cool thing for me to start doing as well. The filet was my first one, so I was pretty darn excited to make it! Part finishing these projects require blocking. If you don't know, blocking is a method using water (vapor or liquid) to set a piece into the shape you want. It also relaxes the stitches which can even out the look of stitches if they're not quite even in tension. My requirement for blocking was to relax the piece (it was a bit wavy) and to set the edge design in place (it was twisting/curling a bit so that all the end loops weren't visible). You can see the finished product before blocking below. (Please pardon the quality of photos, I was in a hurry to get the project finished and didn't have a lot of time to spend on photo taking) The method of blocking I used was wet blocking. In this method you saturate the piece with water and usually a gentle detergent/soap, wring or pat out excess water, and lay it flat to dry with the piece pinned to the shape you want. Below I have my filet ready to put into the prepared soap water. Next, I submerged the filet in the soap water, making sure it got entirely wet. I then let the piece sit in the water for at least an hour. You probably could do less, but I like to say at least an our because then I have time to get the next step prepared and maybe a load of laundry. ;) After the hour (or your allotted time) has passed, I wrung out the filet and gently patted out excess water with a dry towel. Sorry, I don't have a picture of that! Then I laid the filet out on something I could stick pins into. I used my cushioned quilt block cut and press pad, but you could also use a towel, piece of foam, or whatever works for you. I stretched the piece the long way and short way to make the piece a little bigger and stretch the stitches apart a bit. Finally, I pinned the outer edge in place to the way I wanted it to look. The main purpose was to get the decorative loops to sit nicely and visibly, but also to make sure the piece stayed in the right shape while drying. Here's the finished product! It turned out really well for my first name filet. I hope the couple appreciate this gift and mount it in their home.
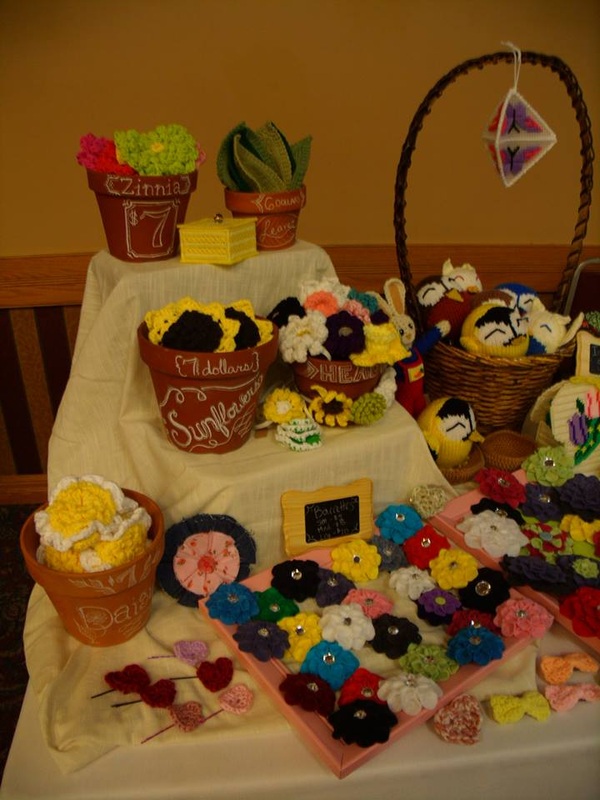
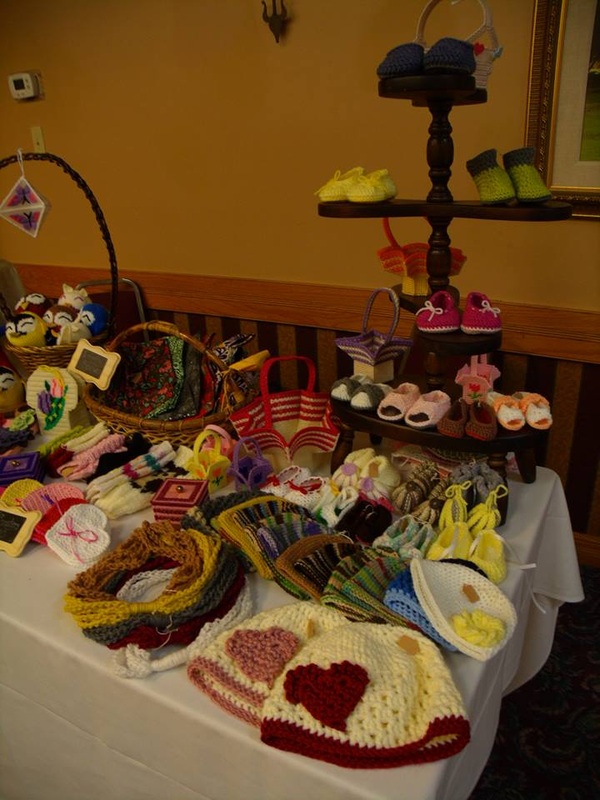
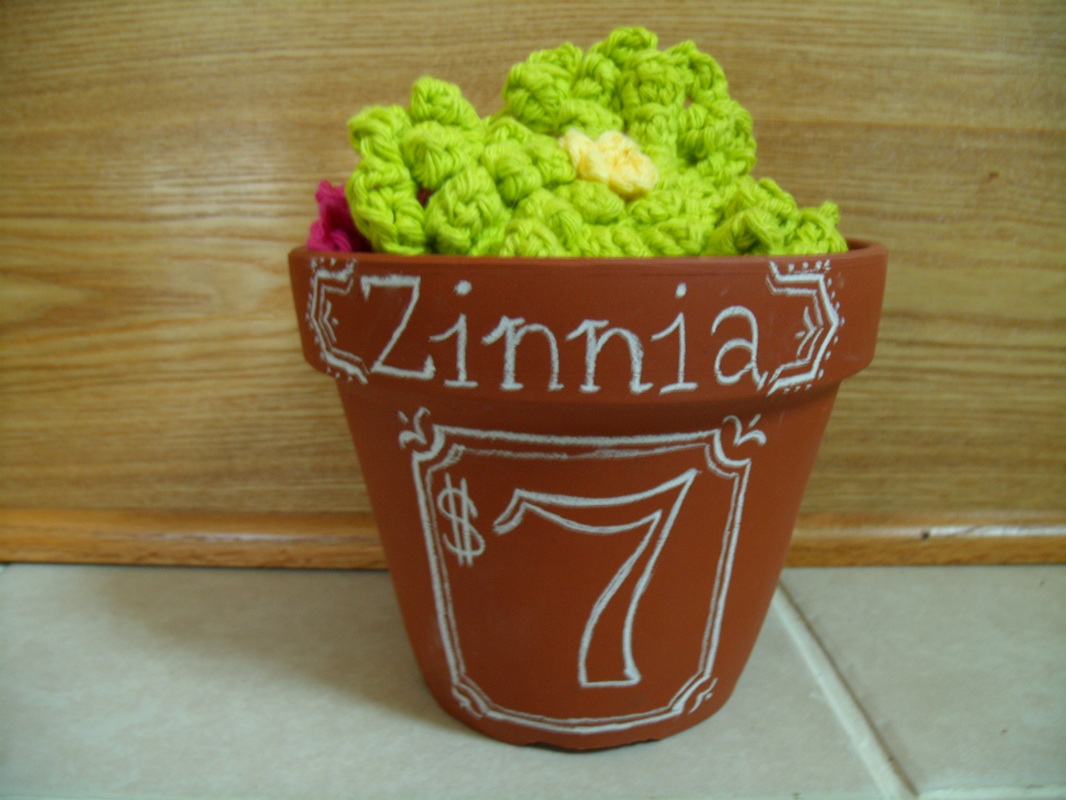
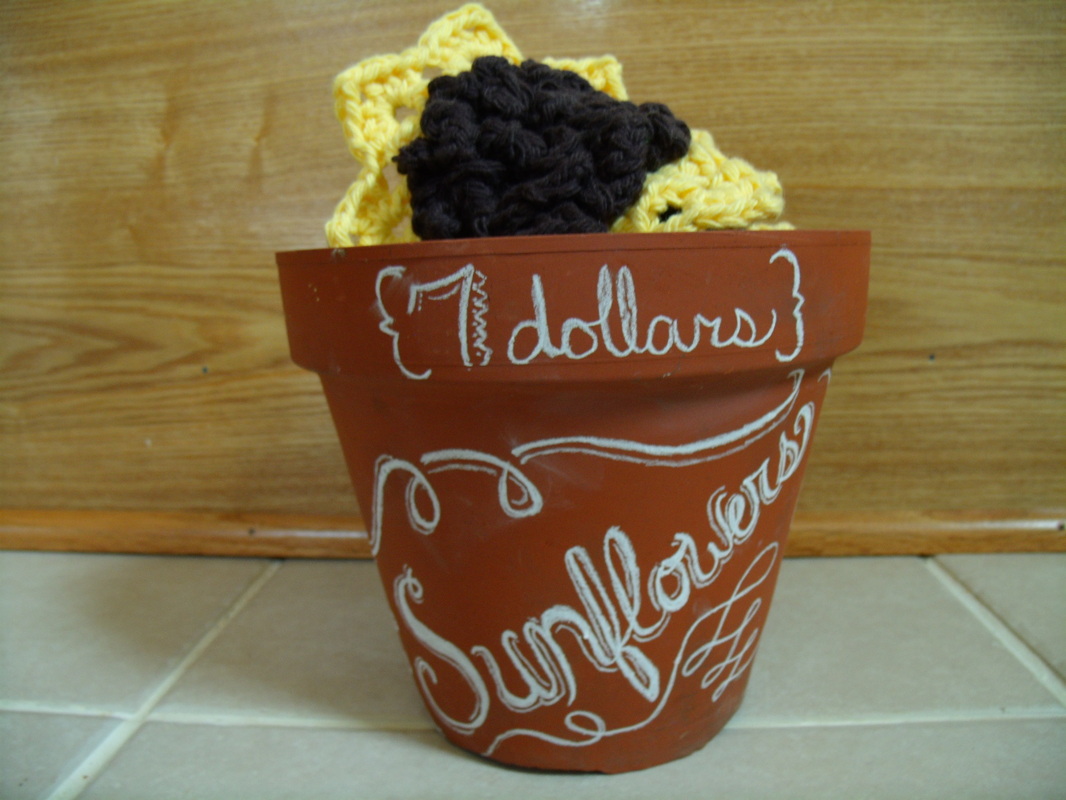
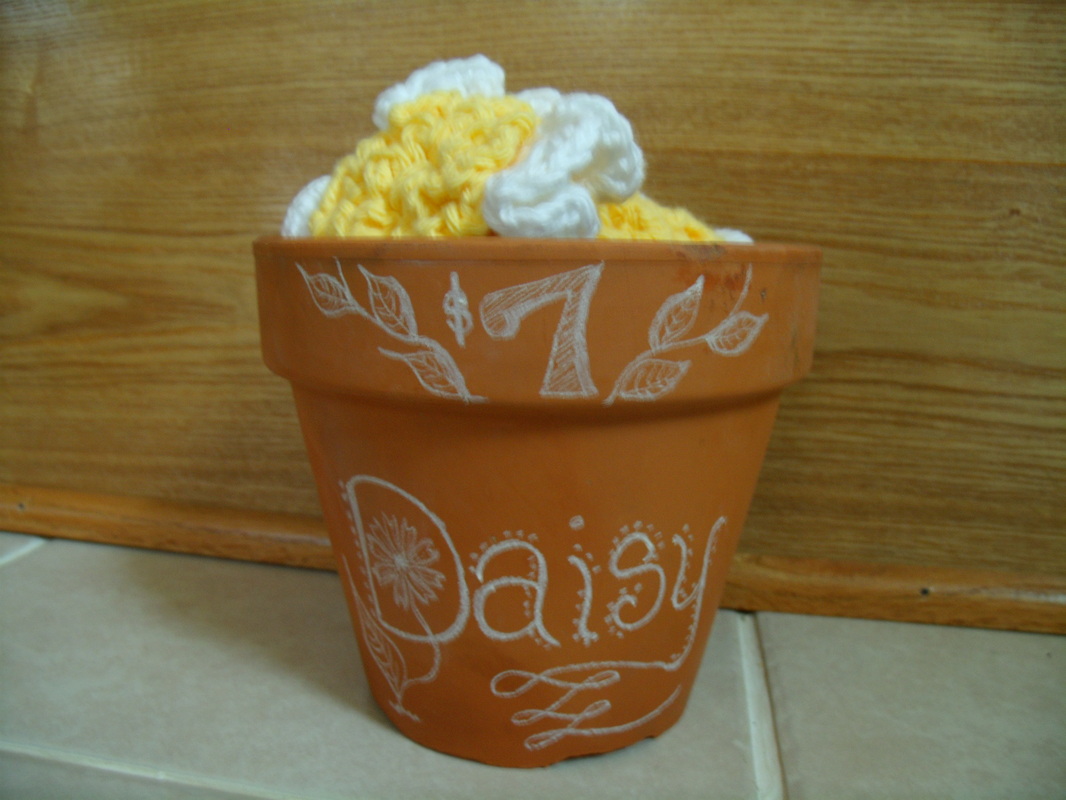
I hope you, too, find this tutorial helpful! It's pretty basic and easy, but if you have any questions or comments, please share! 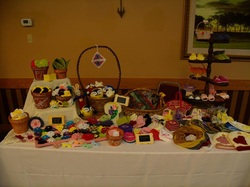 Hey All! This is just a quick post for today. I thought I'd share a little bit about how my show went last week. The show was held at a hotel convention center and had just over 20 booths at the show. Actually, a majority of the people showing were vendors (think Tupperware, 31, Pampered Chef, etc.). So, it was a bit competitive. It seemed to me that most the people who visited the show were going mostly for vendor products and not the crafters. There also wasn't a lot of advertisement, not even a sign outside the hotel letting the general public know of the show. I felt the numbers were low. It would have been nice to have more people there simply for the fact that the show was also a fundraiser. However, I still had quite a few people interested in my booth and came out ahead, even with the previous two shows. I was quite happy by the end of the day. Enjoy the few photos I took of my booth from the day! 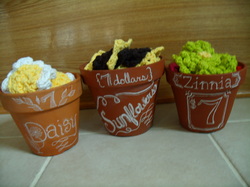 I have my first show of the year coming up this Saturday! I have been itching to get out for a month or so. I'm needing more 'in person' exposure. I know I have great stuff that makes me stand out, I just need to show it! Part of the 'showing' at craft shows are the displays. How you set up your items in your booth. This has been (and probably always will be) a process for me. My first show was a little chaotic. Second was a little better, but not completely to my liking. This next one I hope to be a LOT better. I have some great ideas on how to show some of my products that I personally have never seen at a show. It's fun, fitting, and creative. The idea is to display my flower/plant items in terra cotta pots as you see in the photo. Terra cotta pots act like slate and will allow you to write on it with chalk. I had thought of this idea a couple years ago for the garden. It's a cute way to label your garden pots, until it rains! So, I went and found my chalk pencil and started to doodle on the pots. Each pot displays the name of the item and the price. I will put the product inside making it seem like these flower inspired items were planted in the pot. Pretty cool, huh? I think it makes the preparation more efficient and adequately displays the price for buyers to see. If done right, it's also quite attractive. I have a feeling people will be commenting on these at the show and hopefully hook a sale! The first pot I did was the Zinnia. At first I wanted to put the name of the item on the rim like I did. However, to me the price so large below seemed a bit much. So, for the other I changed it up. Next, I worked on the Sunflower pot. I wanted to have a slightly different theme. So, I chose to do a scroll like script with some swirly decorations. It turned out pretty well. I like the name of the item larger down below, too. I think it makes it more decorative and welcoming. Finally, I had the Daisy one to do. I made this one a bit more nature-y. The drawn daisy flower and leaves I really like to draw, so I incorporated them in my design.
I also plan to make some pots for my flowered headbands and the leaf washcloths. I'll let you know how these worked for my show display. If they're a hit, I think I'll spray the pot with a sealer to keep the chalk from wiping off. |
Author
My name is Annissa, owner of MissNissDesigns. I am a knitter, crocheter, sewer, and all around crafty lady. Archives
April 2023
|
