|
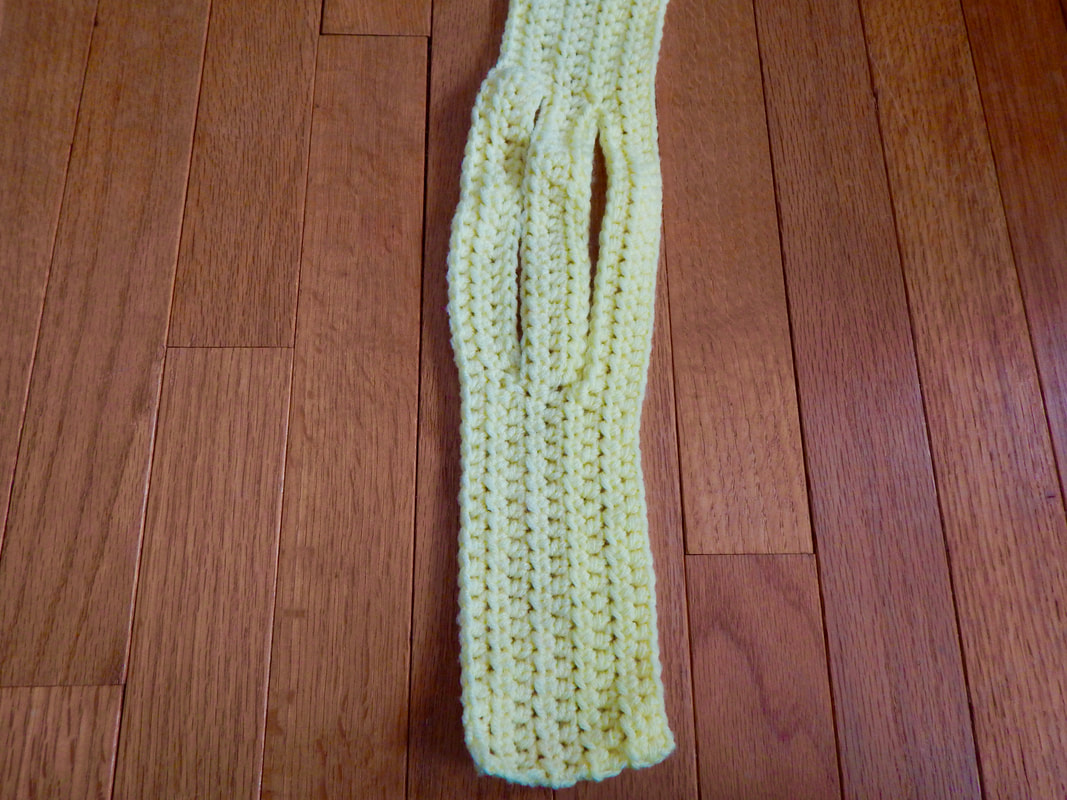
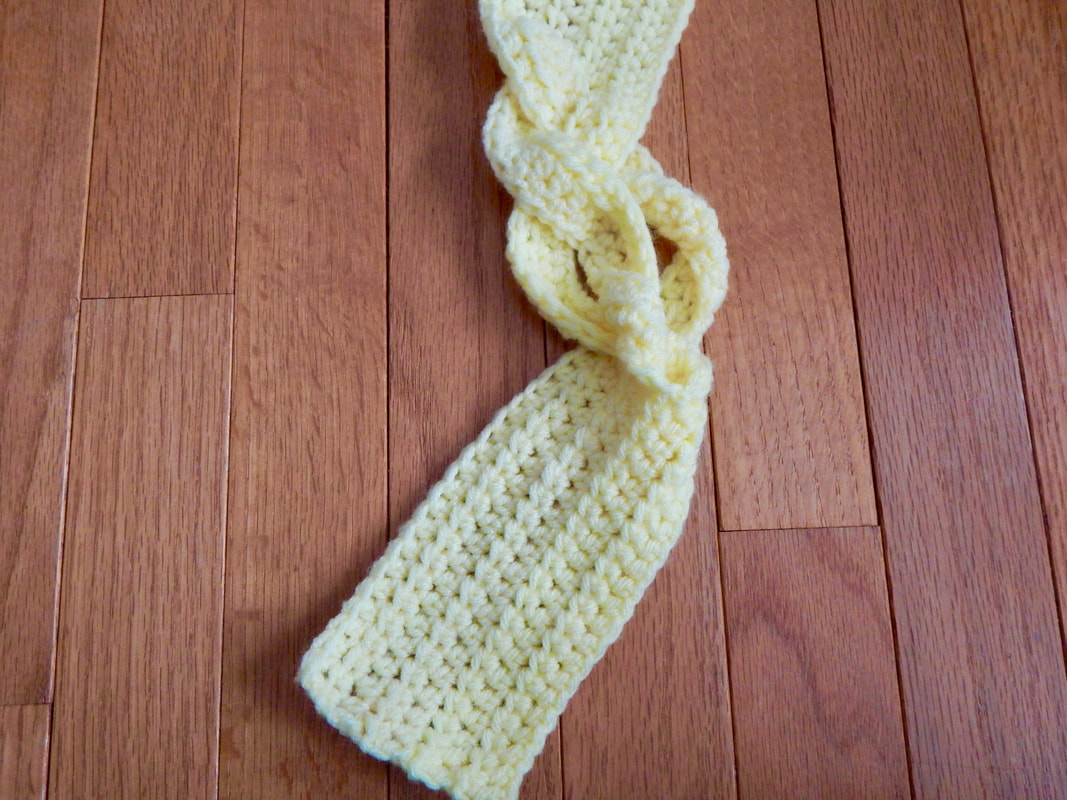
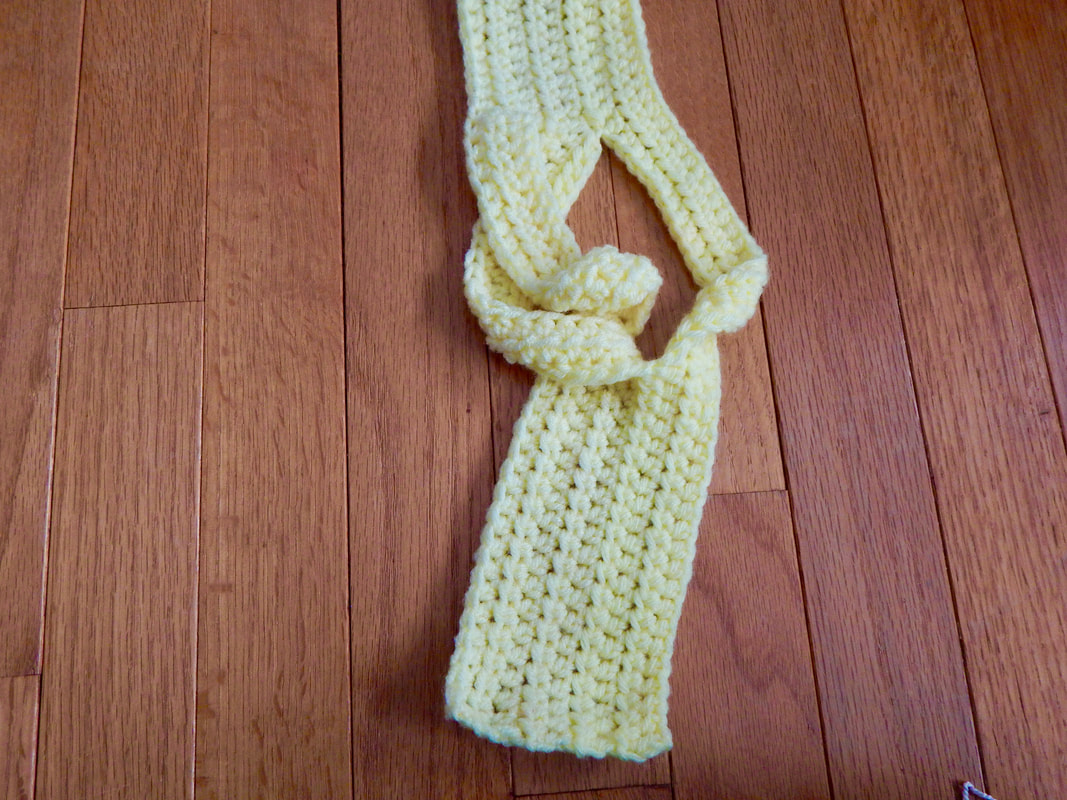
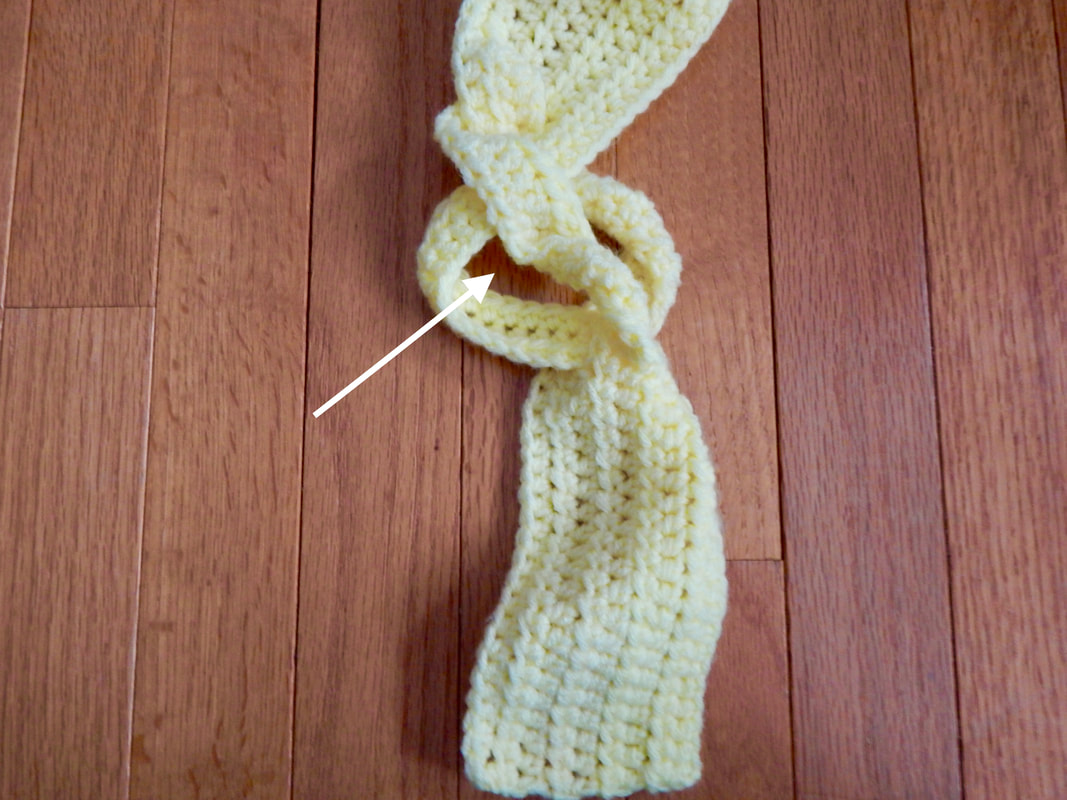
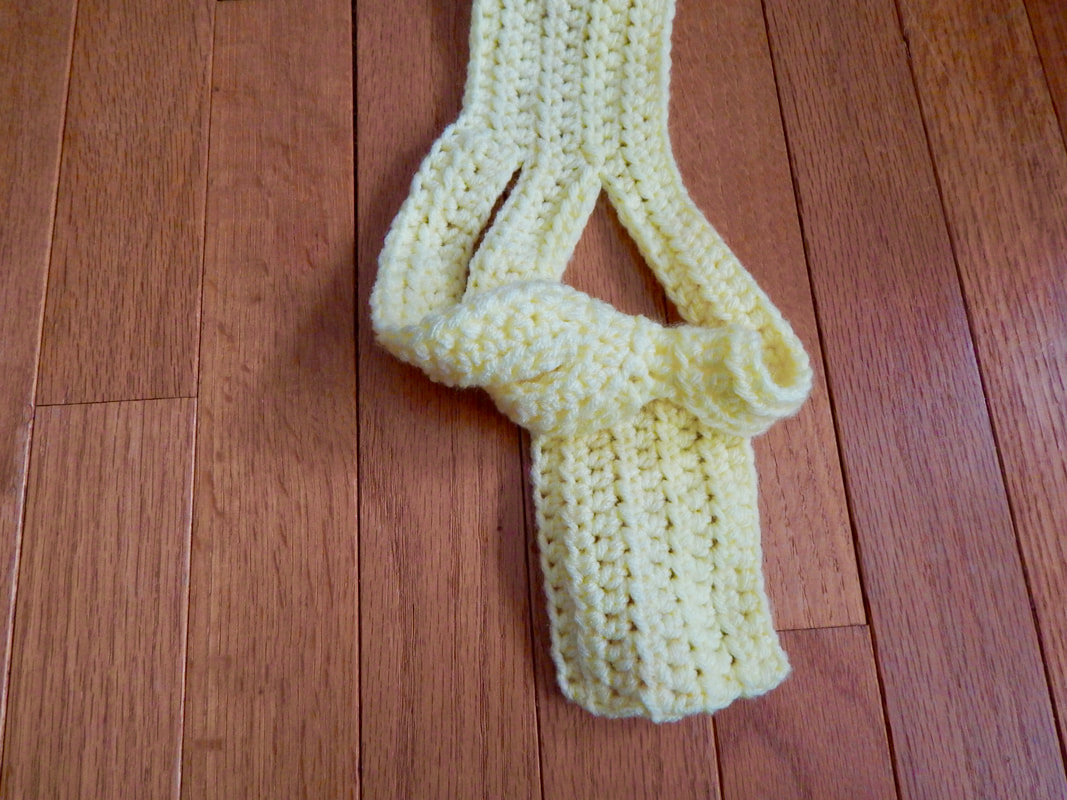
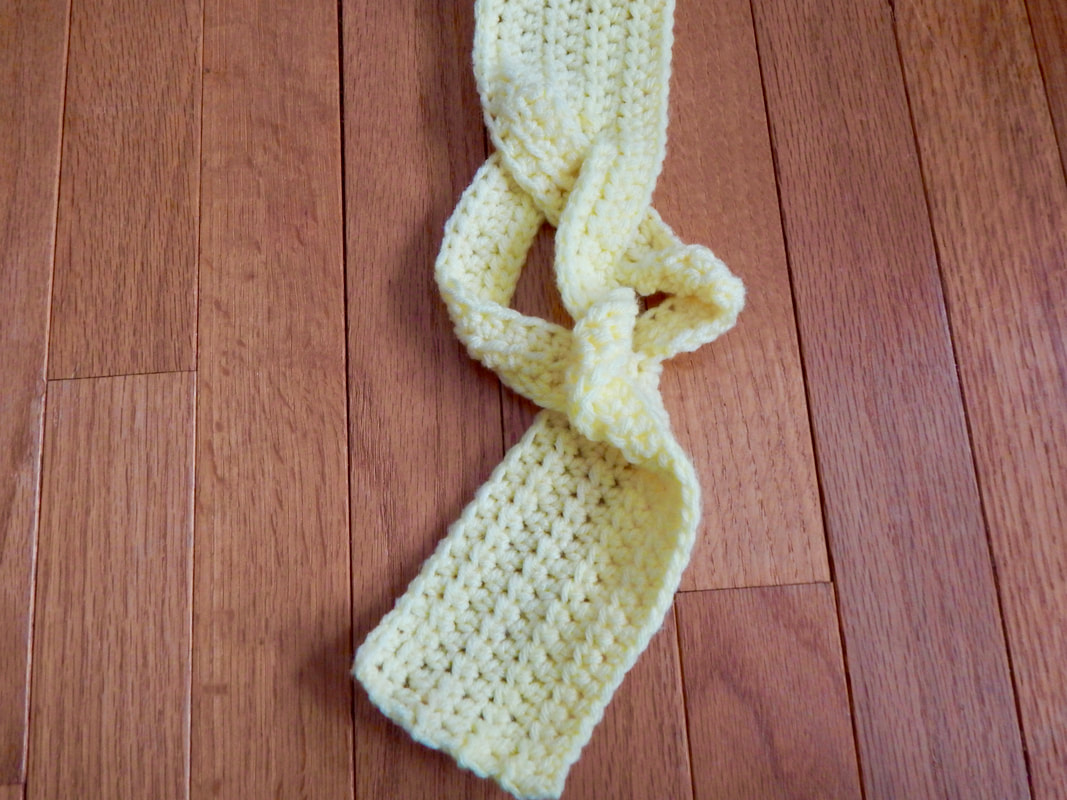
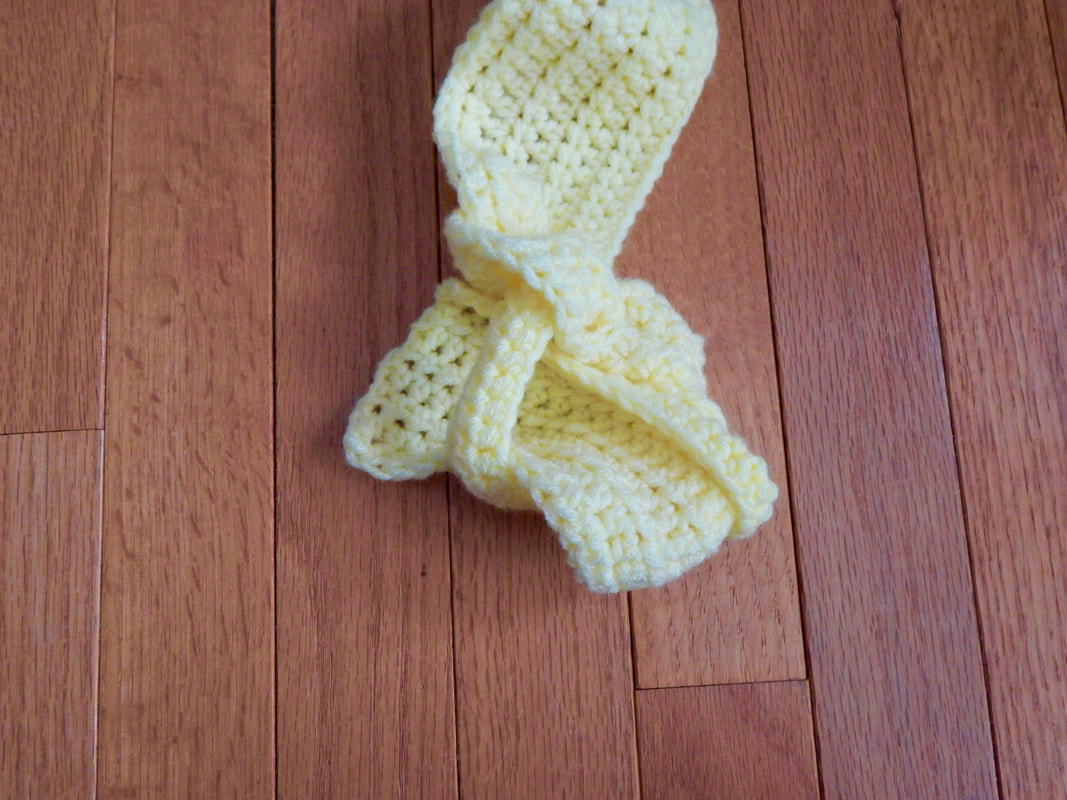
I have been looking for some Disney themed knit or crochet projects I could make for gifts. Rapunzel was my most recent search through Ravelry. There aren't very many option. However, I came across this lovely Rapunzel inspired scarf pattern. It is written by the creative Juli from the Once Upon a Cheerio blog. The Rapunzel's Braided Scarf Pattern can be found in the highlighted link. This pattern is quite simple, however, the magic braid can be a bit confusing. I believe Juli wanted to offer a better tutorial on the method, but didn't have much to offer. She did provide a diagram for the magic braid, but I think a more in depth picture tutorial might be a bigger help to some. That's where I come in! This Rapunzel pattern is so wonderful, but I think the braid might be keeping others from sinking in and making more. Below I have offered a step by step picture tutorial on how to execute the magic braid. 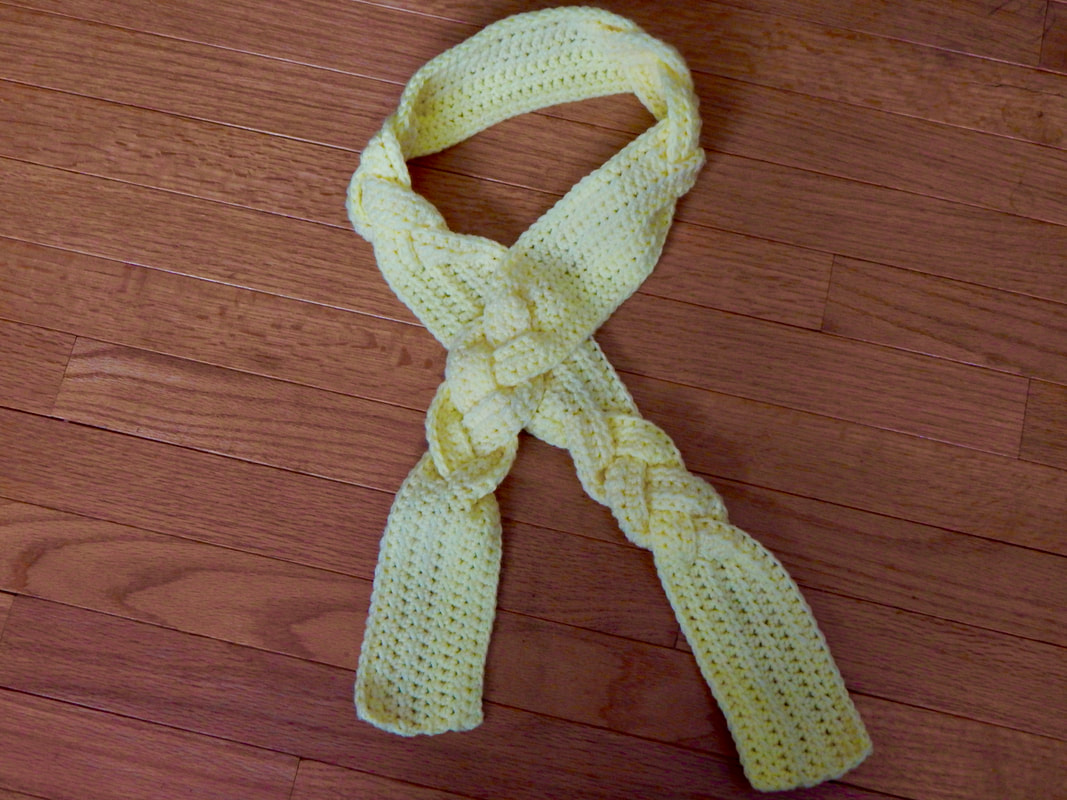 I made mine a bit shorter for the little one I am making the scarf for, used a different hook size, and crocheted with a single strand of worsted instead of two. I am also toying with the idea of putting some applique flowers onto the braids. That way the scarf looks like Rapunzel's hair in Tangled when she visits the village. You can find all the notes on my Ravelry Project Page. Magic Braid Tutorial Before you start, I want to point out that the works for all the braid sections of the scarf. I simply photographed the end piece of the scarf, because it was my last one. I used the rest of the braid sections as practice, so I could get this right for you!
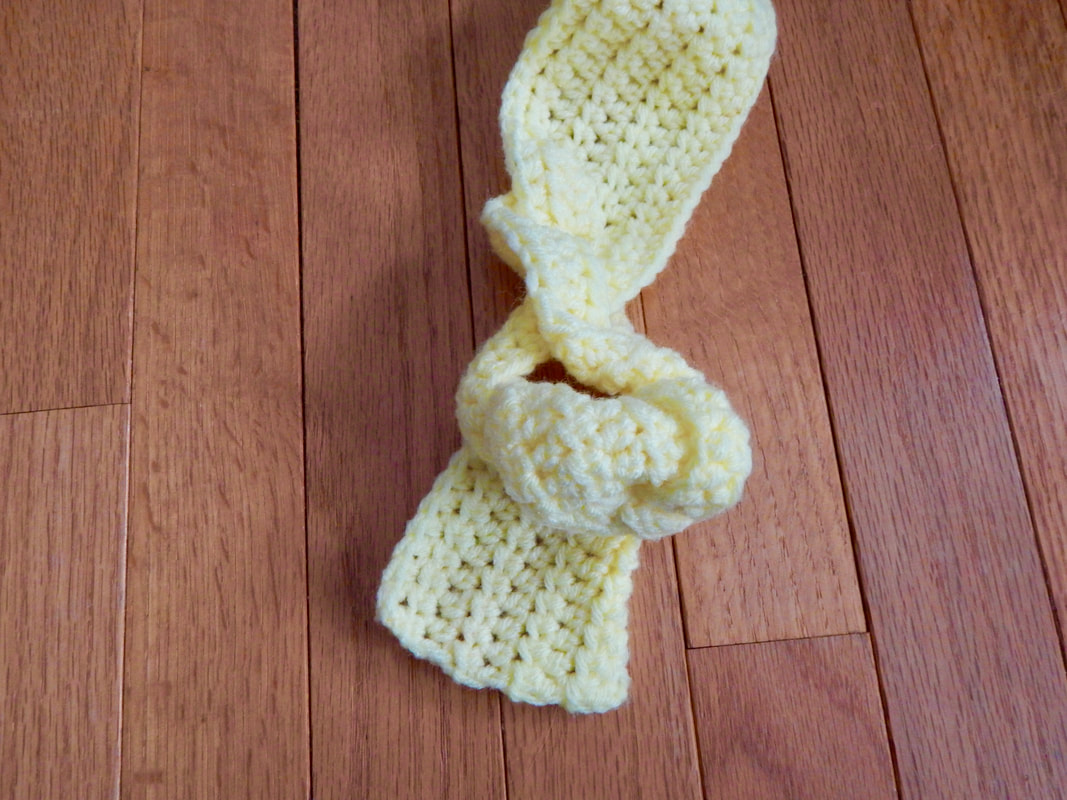
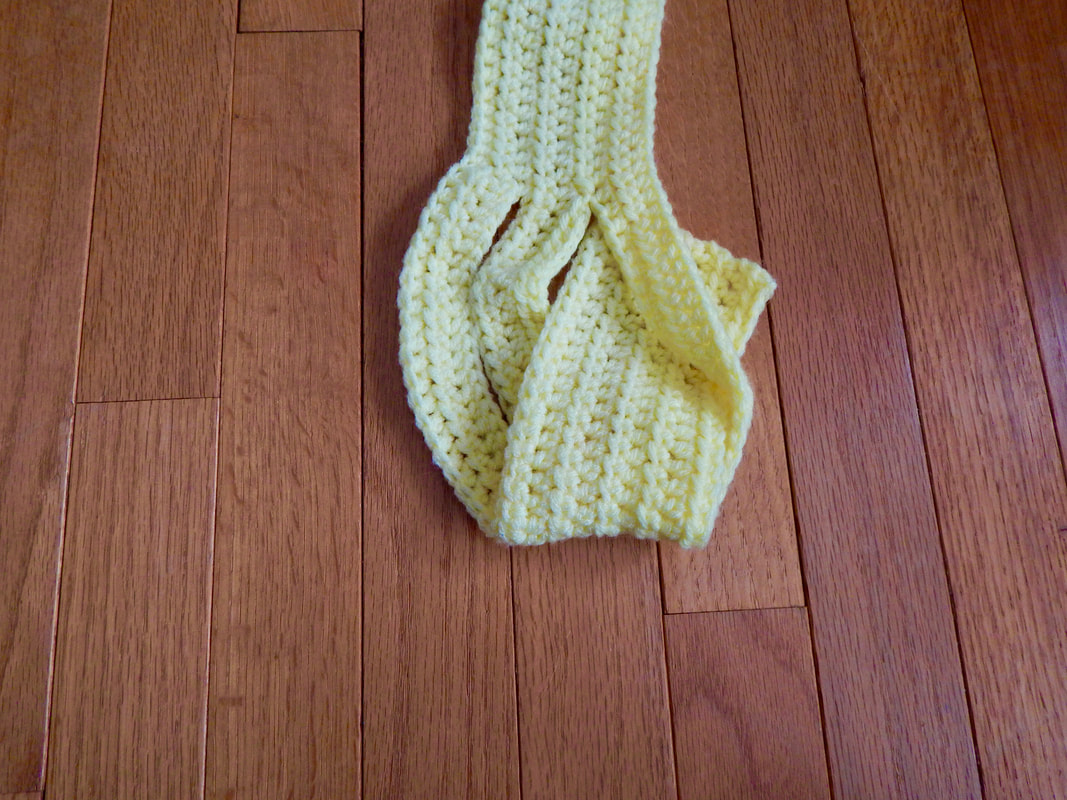
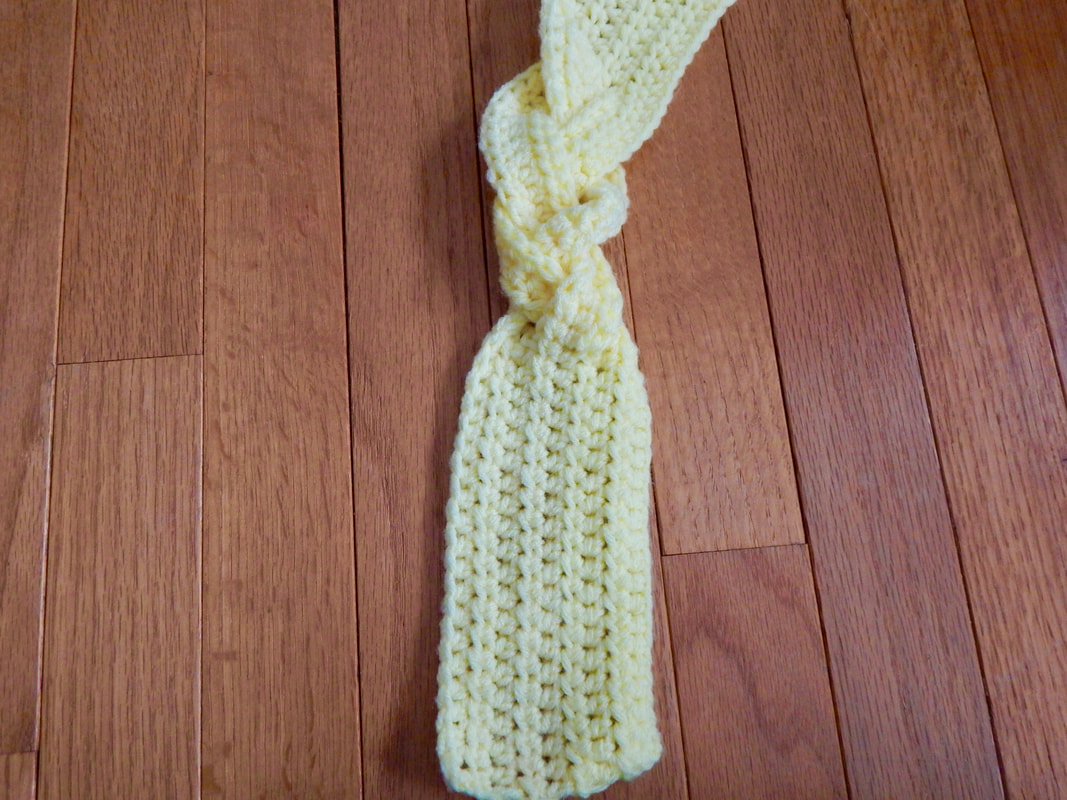
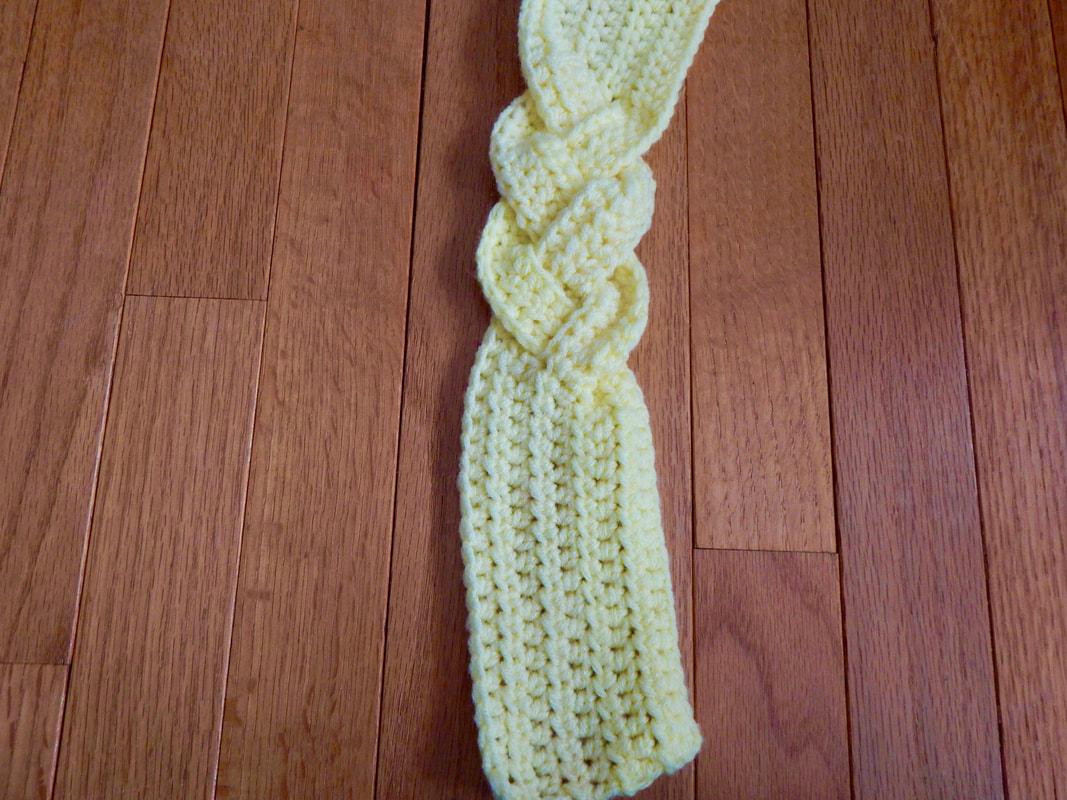
Now, just repeat these steps 5 more times as the pattern is written. Then voila, you have a wonderful Rapunzel inspired scarf. I hope this tutorial helped and we get to see many more of the scarves in the future. Thanks to Juli for writing a cute, quick, and satisfying pattern. Happy Stitching! MissNiss Follow Me on Instagram and use #missnissdesigns so I can see all your wonderful projects <3
0 Comments
Leave a Reply. |
Author
My name is Annissa, owner of MissNissDesigns. I am a knitter, crocheter, sewer, and all around crafty lady. Archives
April 2023

|